Why marking a borehole?
Before you go as a manic macaque on the electric chest lyre and perforate the surrounding area, you should define, mark and prepare the areas to be drilled. Even if this preparation is banal and so basic that it could actually fit into two sentences, we’ll skip it here because marking and center-punching are simply part of the target process before drilling. If you want to mark something on a piece of steel, there are many ways to do this. You can use a piece of sellotape or a decorative post-it. Scribbled with a message, it sticks to the workpiece, but is not particularly useful.
A simple and non-washable felt-tip pen is somewhat more suitable. This provides a decent marker that can be used to drill with ease. However, because many jobs require greater precision, Post-it and Permanent Marker quickly reach their limits.
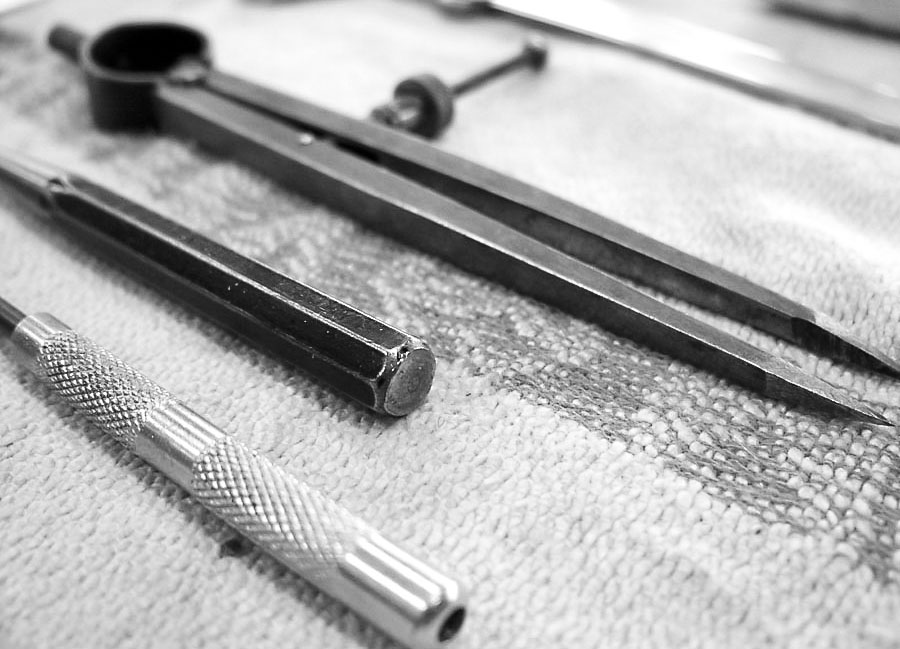
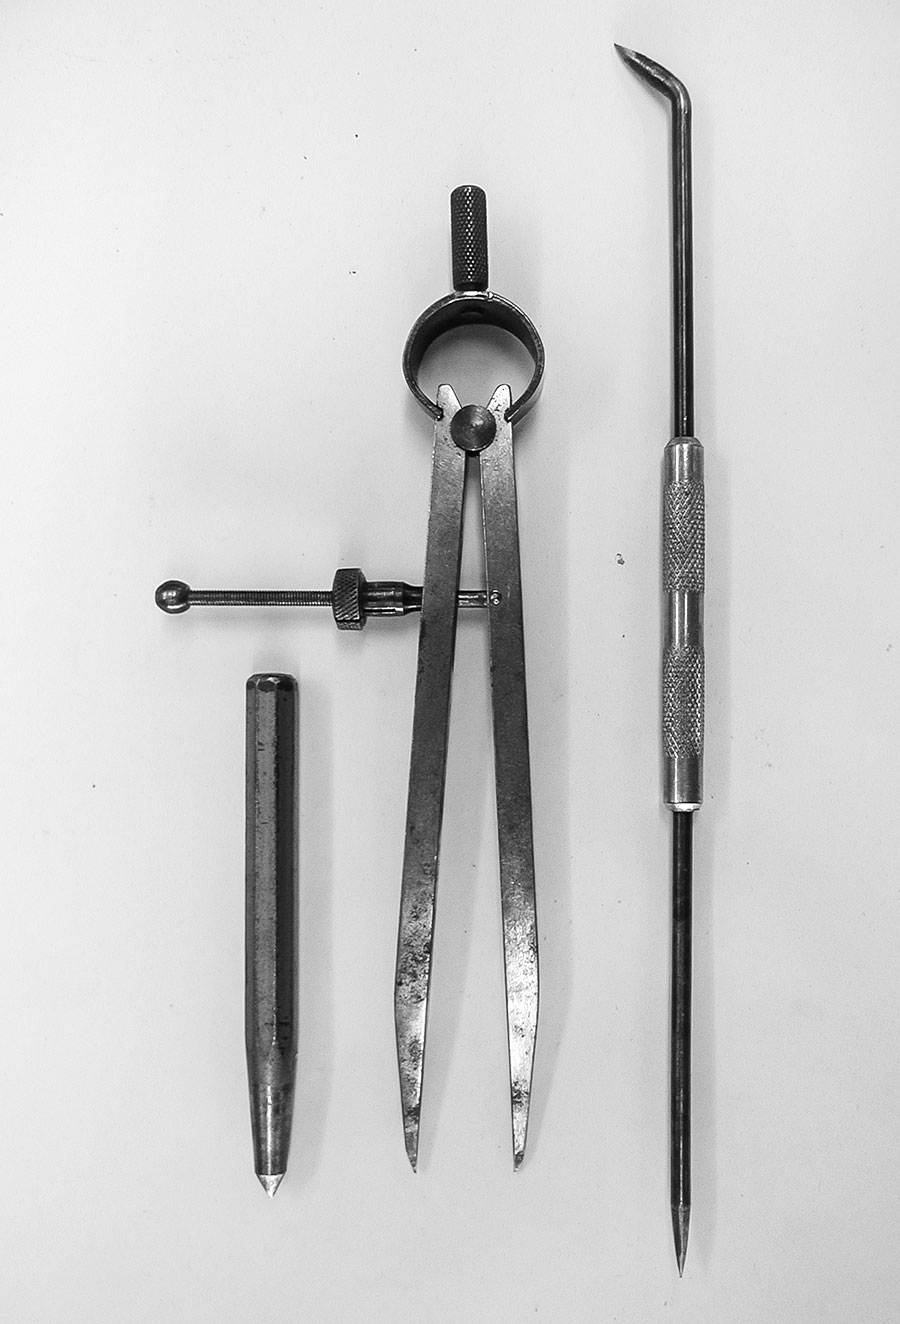
More precise information and location details can be conjured up on the workpiece using a scriber. A scriber is a steel spike, sharpened to a point at the front and made from a material that should be significantly harder than the actual workpiece. Just as the penny in the hand of a drunken suburban youth scratches streetcar windows, such a needle can be used to scratch precise lines on the relatively softer steel. This process is called “drypoint etching” in artistic circles and “scribing” in the workshop.
You mark out contours that will later be sawn out, turned, milled or planed down. And you mark out drill holes. Just like in geometry lessons, the most amazing things can be scribed – in shipbuilding, “scribing bulls” use compasses with a span of two meters to mark flanges for pipelines with millimetre precision or to mark out the most crooked sheet metal unfoldings.
Marking the drill plate
In the course of our basic drilling course, we will be accompanied by a beautifully shaped and purpose-free drilling plate, on which Ole and Daniel from Swisslogg Schierholz will show us how to prototypically scribe, center punch and drill. Many things can be scribed, especially things made of steel.
Even if light metals such as aluminum or magnesium alloys can be easily scribed and carved with a scriber, there is a risk of fractures in stressed components. In light metals, a scribe serves as the root of a solid fatigue fracture; parts made of aluminum or injection molding should therefore only be marked with a fine pencil.
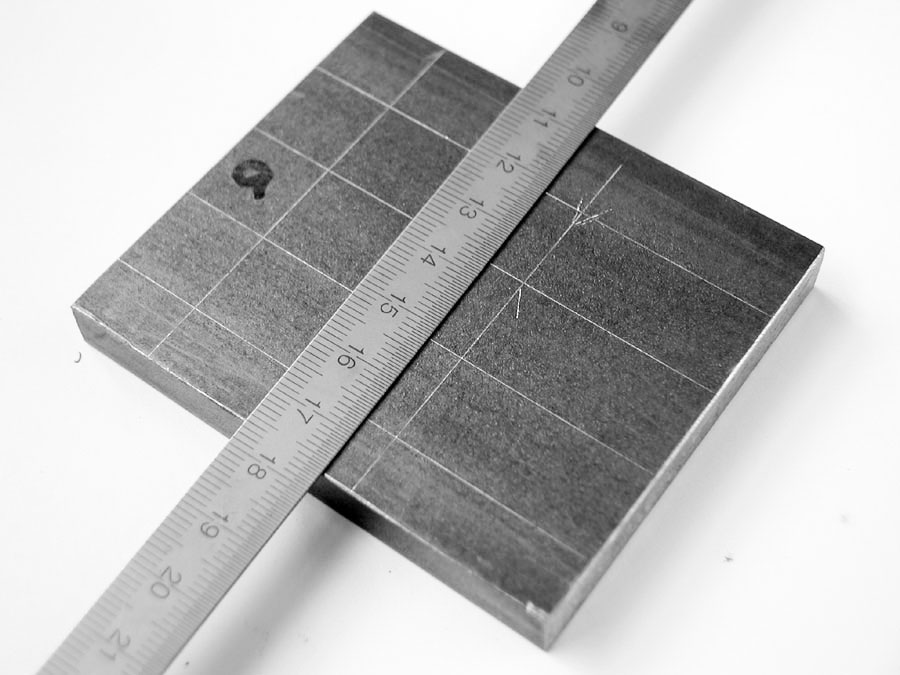
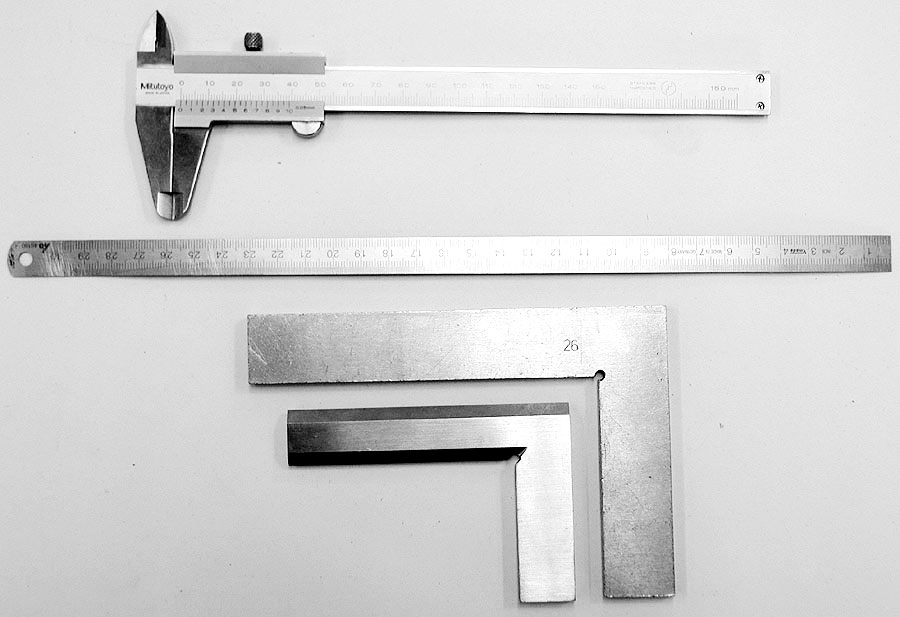
In the case of our drill plate, this is completely irrelevant, because it is made of the finest structural steel and only a few decorative drill holes need to be distributed absolutely evenly across the plate. To ensure that the exact distribution really works, you have to use your brain and a steel ruler. The ruler is used to measure the panel, which has already been cut to size, and to make auxiliary marks over which the “correct” mark is to run.
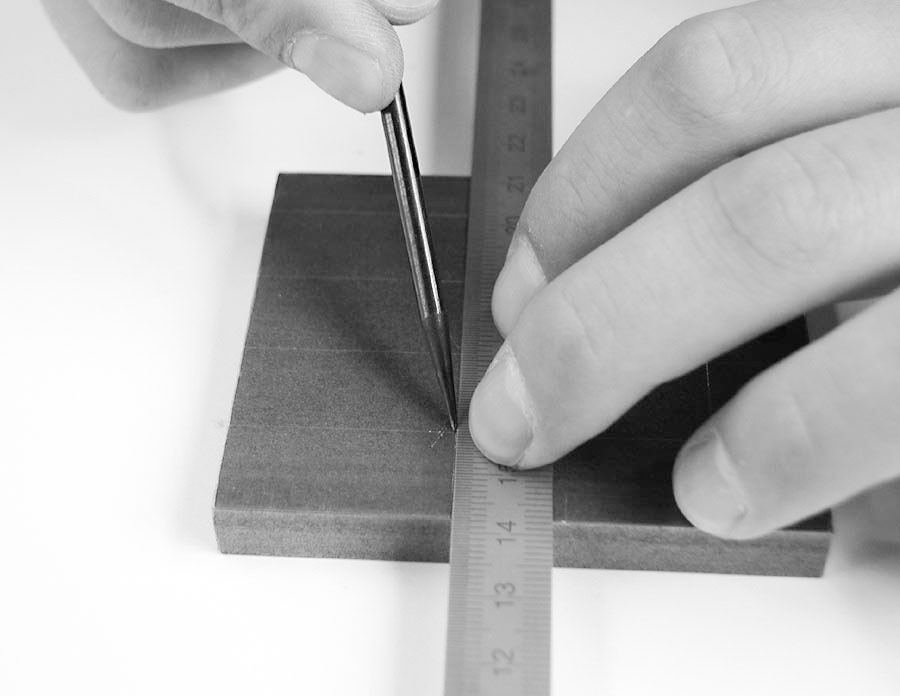
To mark a line, hold the scriber at a slight angle like a ballpoint pen, but press down much harder. To mark a correct scribe line, place the scriber exactly over the exact measurement of the steel ruler and scribe once to the left and once to the right. This creates a small tick mark through which the main line will later run. This is then pulled through in one go and you have a wonderful base.
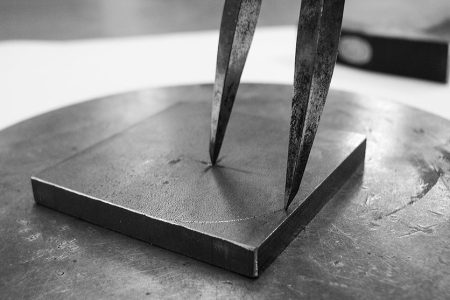
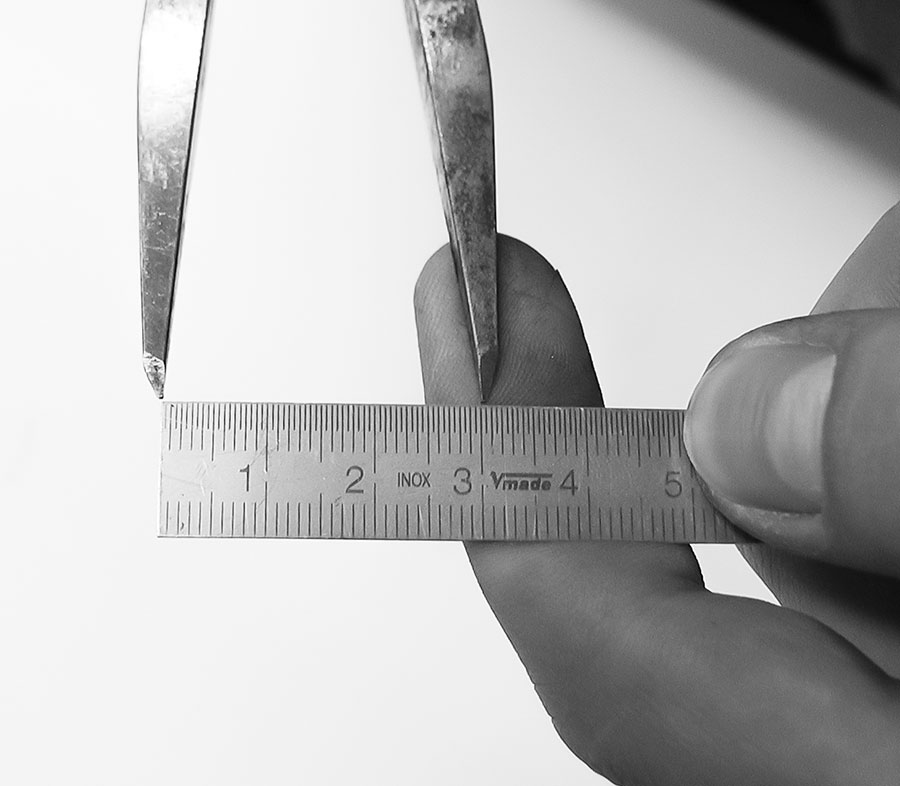
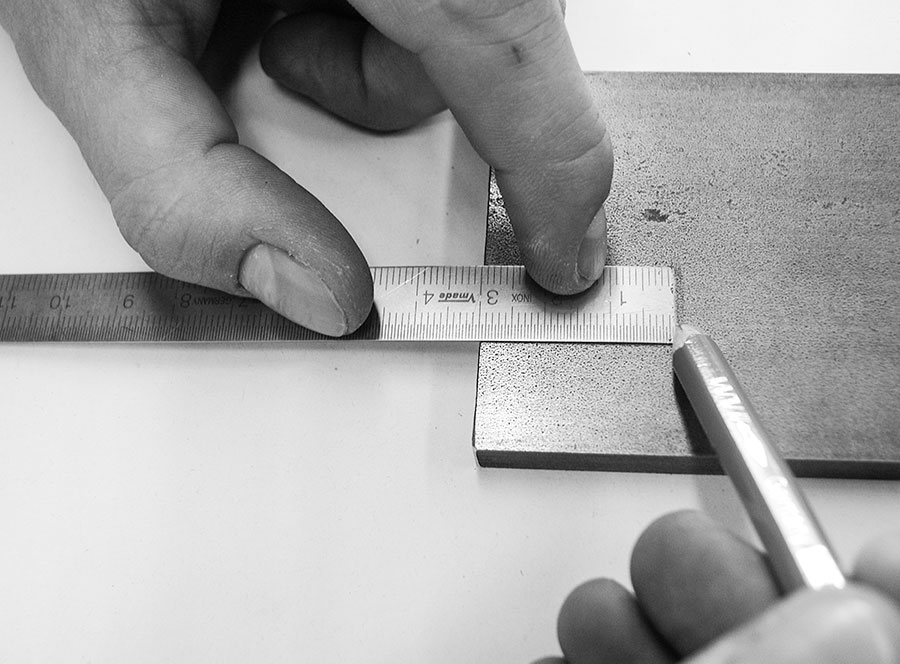
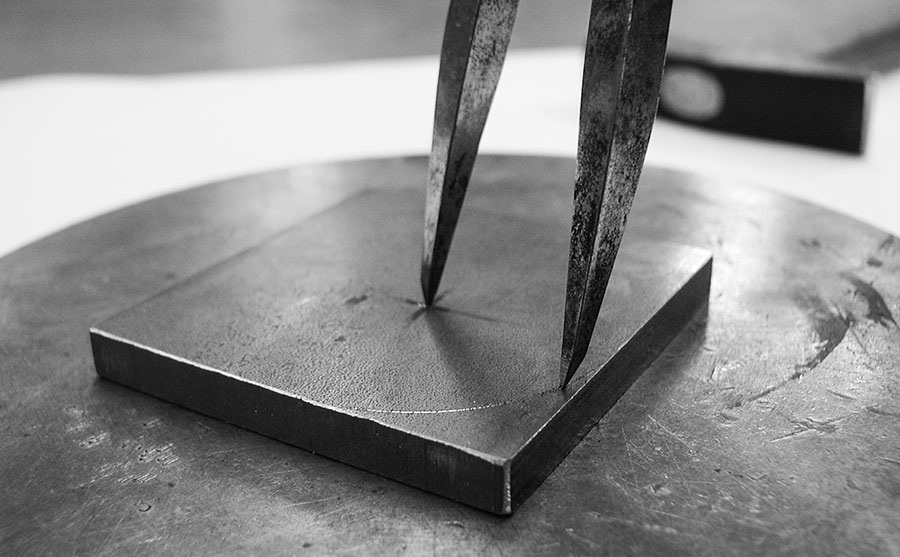
Because crack lines should not only be straight and you also need radii from time to time, there are scribing compasses. Such a compass works in exactly the same way as the school compass from geometry lessons. In the picture, a radius is scribed, which is then cut to size with a file.
In this context, the file is a wonderful precision instrument with which you can work to a tenth of a millimeter. The mark you file to is hardly less accurate – and drill holes that have to fit one hundred percent can be scribed precisely with a little practice.
Height gauge and marking plate
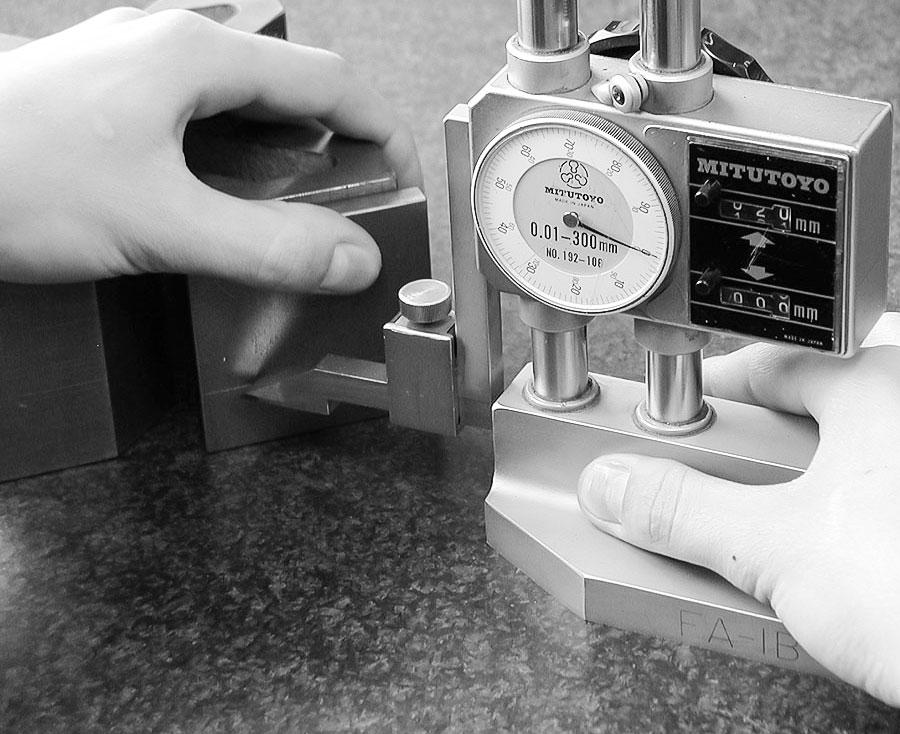
The height gauge is used to create cracks for even more precise workpieces. This device can be used to mark out real hundredths of a millimeter and average out drill holes with the utmost precision. In addition to the actual height gauge you also need a table on which to place this miracle device.
The height gauge marks absolutely vertically across a flat surface up to dizzying heights of up to half a meter (depending on the device). Because at a height of half a meter, even the slightest unevenness in the table causes turbulence and inaccuracies, the table must be even and clean.
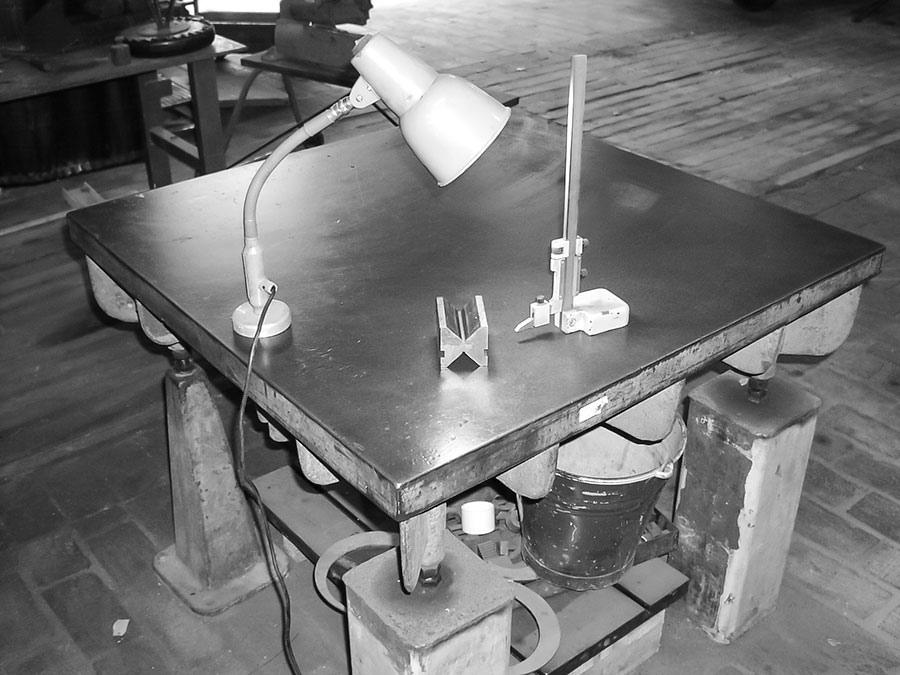
ates Such flat and clean tables are therefore called scribing tables or suface plates. Good surface plates are therefore above all flat. In practice, manufacturers achieve this evenness by constructing cast metal plates in such a way that they do not warp by a thousandth under the influence of heat. To achieve this, these tables are heavily ribbed at the bottom and therefore weigh easily half a ton for a panel of one square meter. Absolutely warp-free, these panels are then scraped so finely at the top that they are as flat as the surface of a pool of used oil.
Although manufacturers differentiate between further levels of accuracy, the only thing that can be determined by conventional means is that it can no longer be more precise – such a plate is extremely heavy, but extremely flat. If you want it to be even more precise, these marking plates are not made of cast steel, but of granite. This is also easy to transport, but no longer reacts to heat at all. The disadvantage of these granite scribing plates, however, is the fact that they are sensitive to impact and small crumbs break out when heavy parts are thrown roughly on the plate.
It goes without saying that the workpieces on which crack lines are produced in piecework must be angled or at least flat. To check this, you can use the usual household tools: Steel ruler, hair angle, stop angle and brain.
Height gauge practice
A surface plate like this is ideal for marking out geometry using a height marker or other aids. What exactly is to be scribed is determined by the diabolical plan that you find on a workshop drawing, a scribbled telephone pad or in the furthest convolutions of your own hypothalamus. These can be absolute or relative measurements or divisions or, or, or.
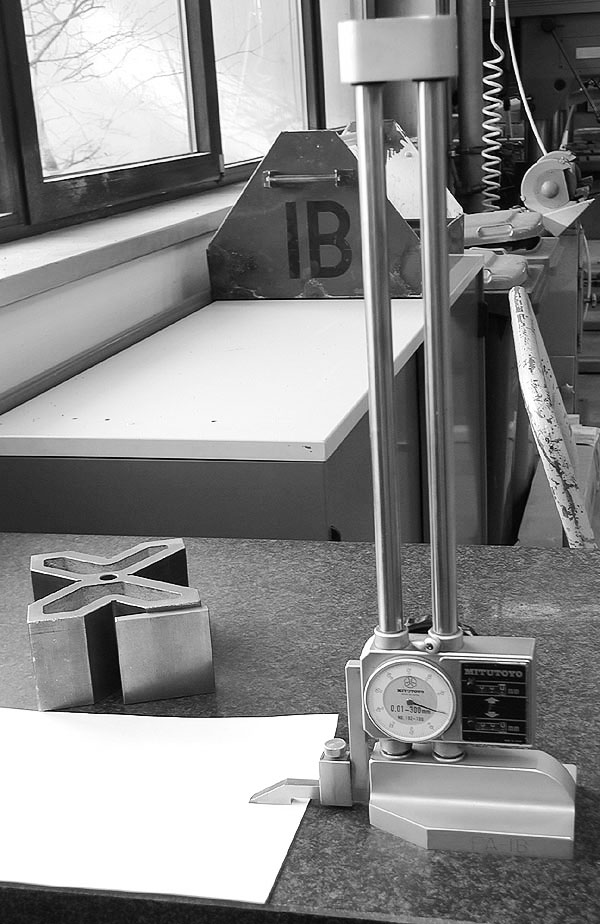
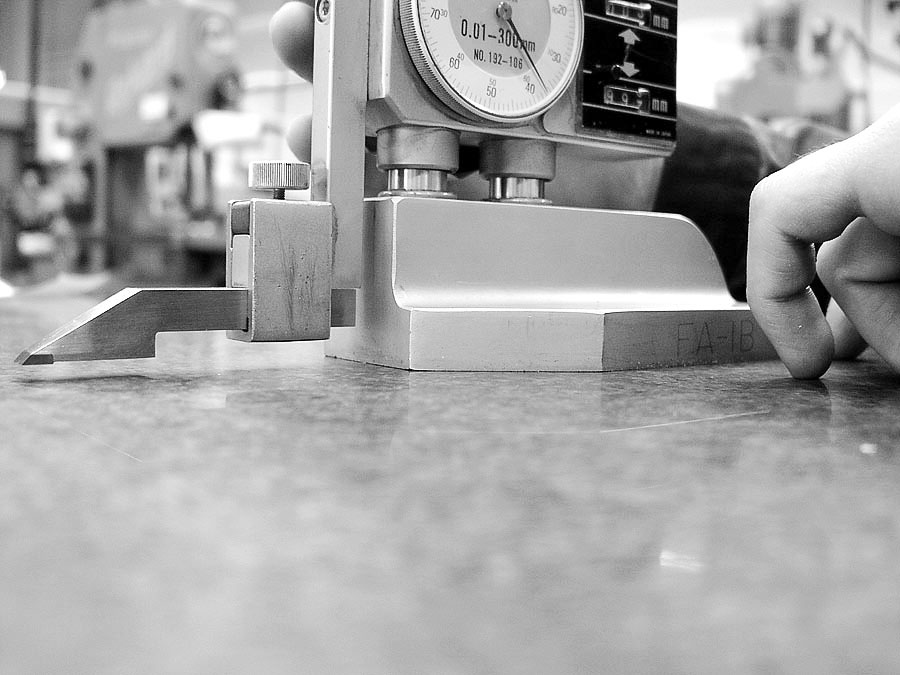
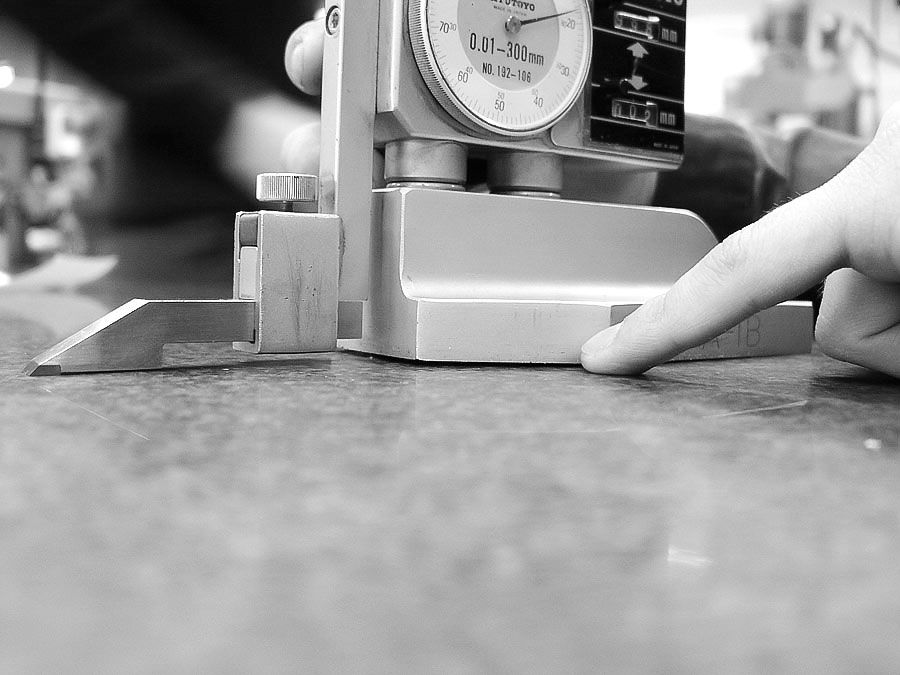
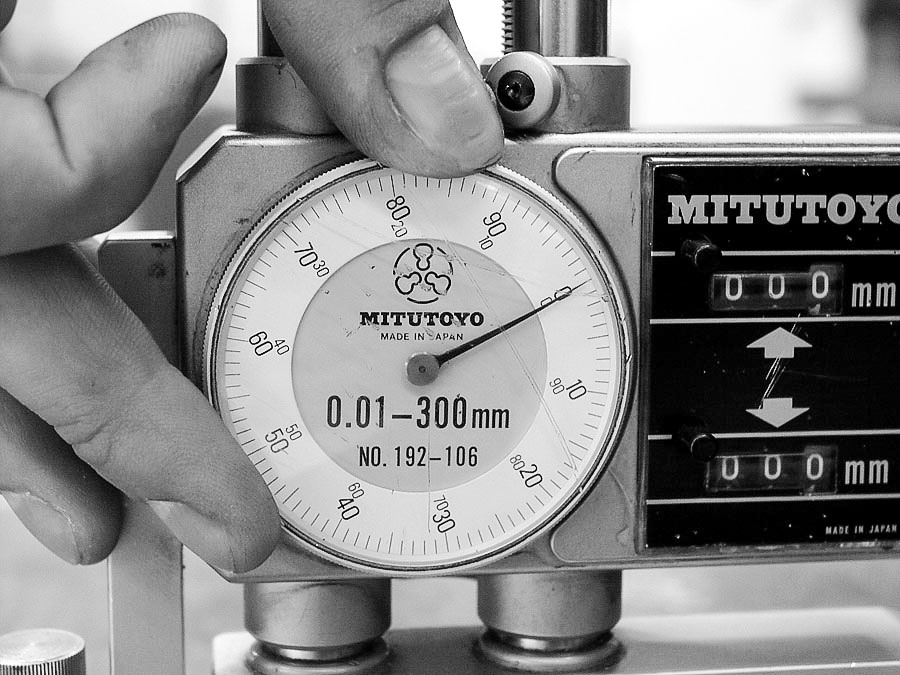
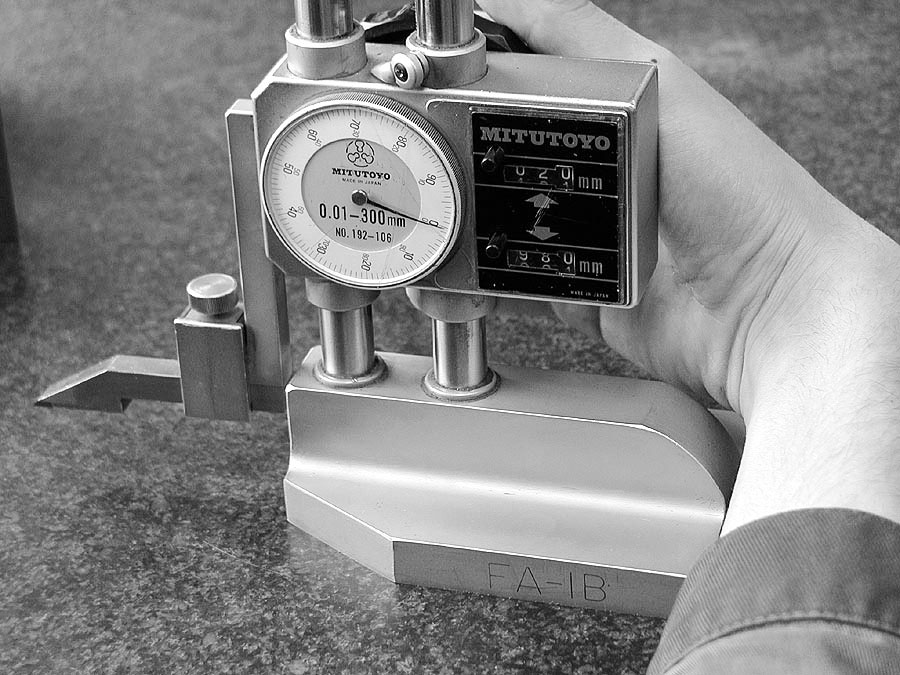
In most cases, however, it is a height above the table that is important, and for this you have to set the expensive precision device to zero. The Mitutoyo height gauge shown here can be set to real hundredths and has two counters for this purpose. The first counter works like an old bicycle speedometer and counts whole millimetres. The second counter is the round scale, which can be turned to zero (or any other value).
The whole device can be turned up and down with a small crank that acts on a gear rack via a gearbox. So to zero it, you carefully screw and crank the whole thing down. In this case, the lowest point and the part that later scratches the dimension onto the workpiece is a carbide-tipped scriber. This part usually breaks off with rough handling and has to be resharpened; it is logical that you only resharpen the angled edge so that the underside is always completely smooth and rests on the table.
Once at the bottom of the marking plate, set the counter to zero and also turn the round scale to zero – now you can start marking. Before you do this, you can use a piece of paper to check whether the tip of the scriber needle is really resting on the plate and that you are not perhaps flattening a crumb of dirt under the base plate and thus distorting the entire scriber work. If it is zero, the device can be cranked up and down as required and adjusted to different heights. If you zero in between, steps can be realized. If you zero at the top of a workpiece, you can also count back or find a center line.
In addition to highly precise scribing, a height gauge also serves another and sometimes very important purpose: measuring. The scriber needle or probe tip of the device can be positioned so precisely in the workshop air that it can be used to solve all kinds of measuring tasks where folding rules, tape measures, calipers or micrometers fail. The only prerequisite is, of course, the planned use of the device and the sharp mind of a Monday morning to ask the device the right question.
center punch, hammer, base
In the case of our drill plate, all the lines are in place and the pointless demo drill holes are to be drilled exactly at the intersections of these lines. However, to ensure that the drill does not miss the mark in the heat of the moment and possibly turn a valuable component into scrap metal, the existing crack lines need to be improved so that the drill can work accurately.
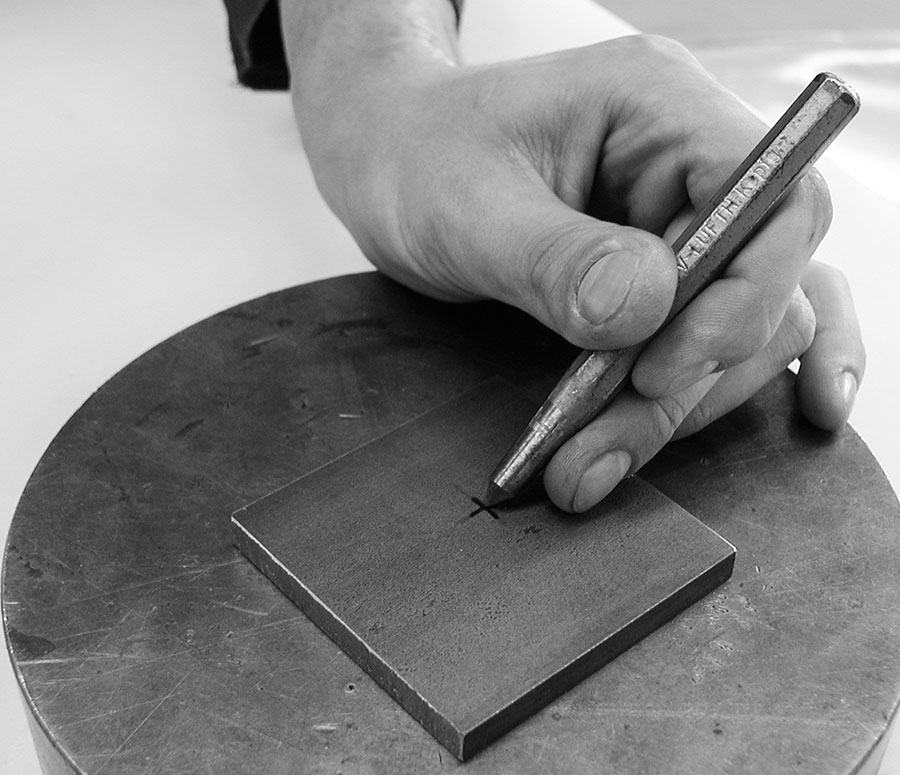
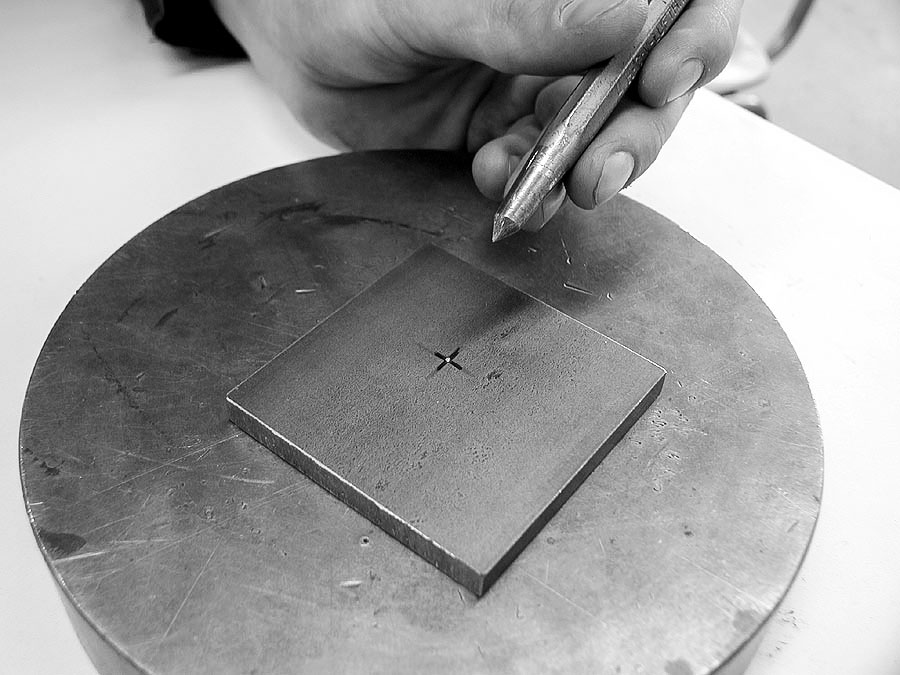
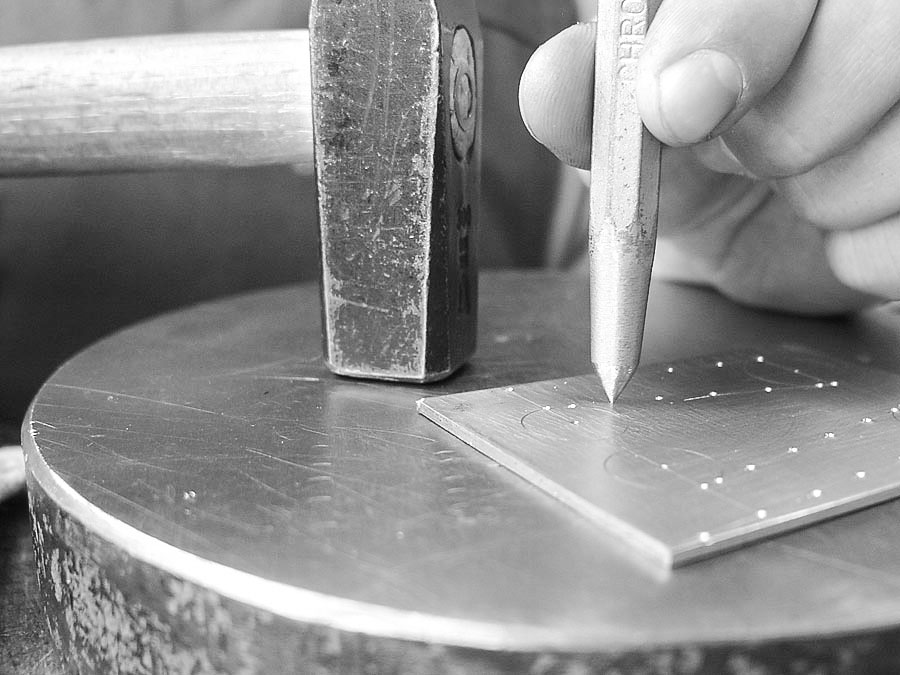
This simple improvement to a plain crack line is called a “center punch point”. A center punch point not only makes a score line more visible, it also guides the drill bit. The tool that creates the center point is the center punch. A simple steel rod with a hardened tip that cuts circular and microscopic cones into the steel. The important thing about such a center punch is simply that the tip is hard and evenly ground. The shank and head should be made of soft material so that the thing does not break during center punching. Done.
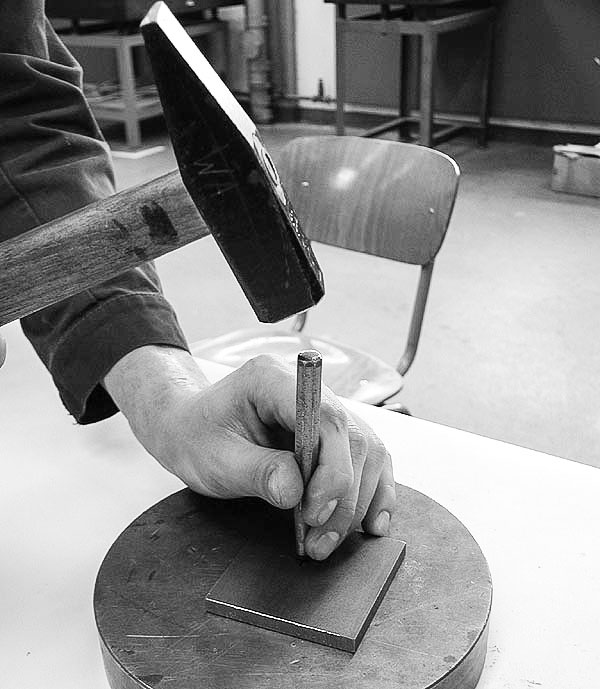
An indispensable tool for center-punching is a locksmith’s hammer, weight as required. A 100 gram hammer is easily sufficient for small, fine center punches, 250 grams is an adequate size for larger craters. The third and usually completely unnoticed tool for center-punching is a suitable base. Because the center punch applies a considerable amount of force to a tiny patch of metal surface, thin workpieces such as sill plates or license plates in particular try to avoid the punch and become deformed. A steel base, which should also be heavy and immovable, is therefore essential for center punching. This absorbs the entire energy of the impact and does not bounce.

Letzte Aktualisierung am 2024-04-05 / Affiliate Links / Bilder von der Amazon Product Advertising API
Paw! Paw! Paw!
On our drilling plate, holes should be drilled at all intersections of the marked lines. To set a center punch point, you place the tip of the complicated special tool on one of the intersections and discover something astonishing: with a little dexterity, you can feel the intersection point precisely. Once the point of the center punch has been precisely positioned, the tool is aligned so that it is perpendicular to the drilling plate and a sharp hammer blow is applied to the center punch. Bang!
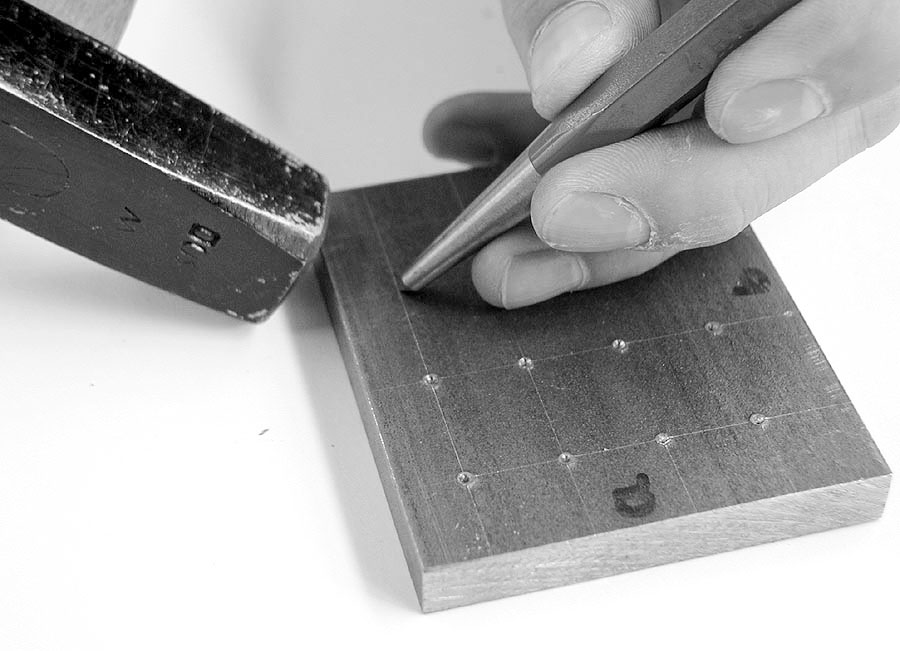
If the center point is exactly at the intersection of the two crack lines: well done – off to the next point. If the point is slightly off course, its position can be shifted a little by placing the center punch at an angle and punching again. However, if you have completely missed the target, you can even close the center punch points completely with a little work.
Fortunately, kinetic energy has only deformed material and nothing has been removed. So to undo the misdeed of a wrong point, all you need is a spherically ground center punch, which you use to press the wrong point closed with light hammer blows. If, at the end of the hammering (during which noise-sensitive people are welcome to wear ear protection), all the center punch points are painted on the plate, the valuable workpiece is ready for the drill and the orgy in chips. The next episode will show exactly what this looks like and what you need in addition to the drill.
