By hand
This article describes drill grinding BY HAND, i.e. without devices or special machines. Of course, they do exist, and as a rule, the professional versions of such drill grinding equipment are the only way to bring completely sanded specimens back onto the path of virtue.
So if you don’t fancy hours of manual work on the double grindstone, put the two pounds of blunt drill bits in a box and visit your colleague in the tool shop of the medium-sized machine manufacturer on Saturday: there is usually one of these miracle machines that grinds the drill bits – scrape, scrape, scrape – to perfection. These tools almost always drill to within a tenth of a millimeter.
You can also do without such a machine; all you need is the drill as such and a straight grinding wheel. Ideally two of them: one for rough grinding, the other for fine grinding at the end. Drills ground by hand in this way should also drill properly and true to size, but it takes a lot of practice.
If the device still drills too large a hole even after devilishly meticulous precision work, it is worth taking a look at the drill spindle or the drill chuck of the machine – ideally with a magnetic stand and dial gauge. If the spindle has a knock, even ultra-precise super drills are useless and produce holes that are too large.
Three cutting edges
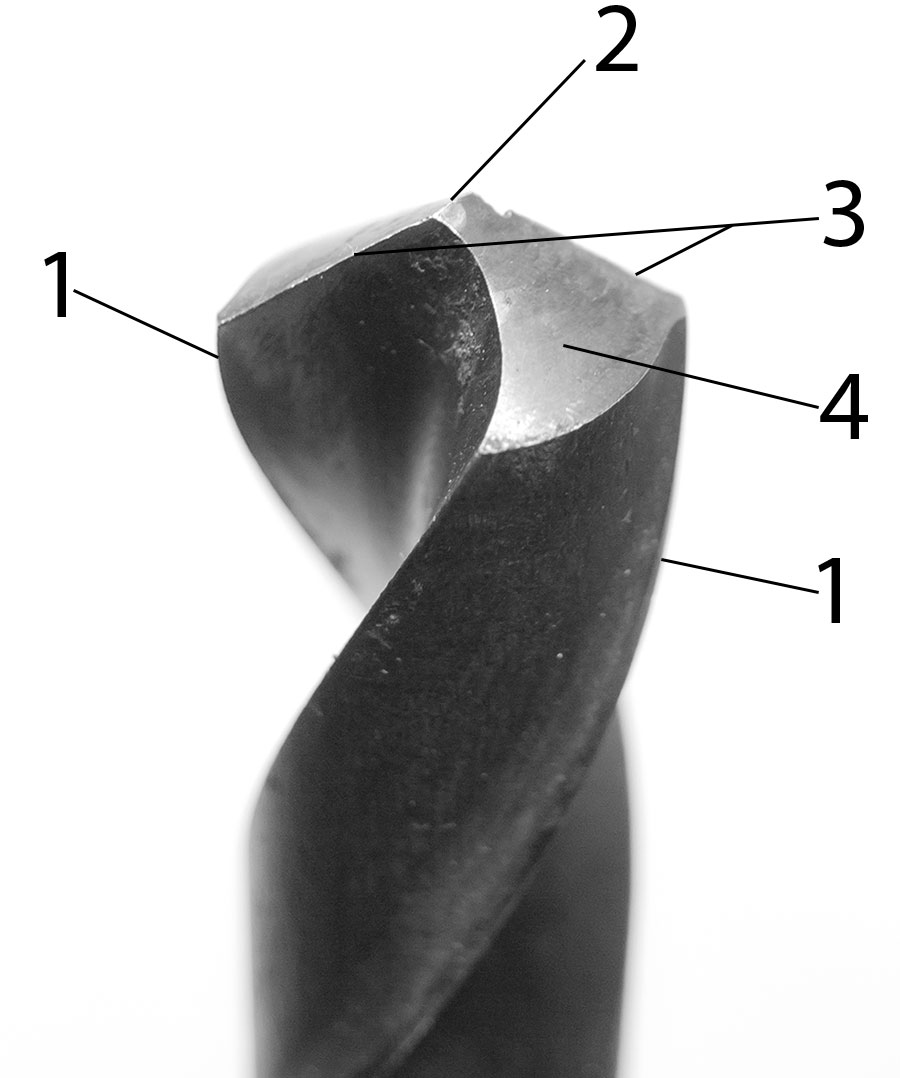
Each twist drill has not just one cutting edge, but three (or five, if you count twice). We have already learned about one of them: the secondary cutting edge that guides the drill bit in the hole. This is not completely unimportant, but it is not decisive in the war. Much more important is what happens at the front of the tip: if you look closely at the tip of a drill bit, you will find a transverse cutting edge and two main cutting edges.
This is the case with every drill bit and is simply determined by its shape, which is created during roller burnishing. The two main cutting edges are the cutting edges that provide the lion’s share of the cutting performance. The transverse cutting edge on top is the result of the drill having a “core”. In contrast to the main cutting edge, however, the cross cutting edge does not chip, but scrapes, actually interferes and costs power.
It’s just like Fred Feuerstein’s hand chisel or the humble hand chisel: the thing has a sharp angle with which it pierces the material. You can really picture it: slim cone, sinks wonderfully into the material. However, anything with an angle of more than 90° will no longer pierce the material but will scrape it, no matter how sharp the cutting edge is.
This is the case with chiseling and is no different with turning and milling. With our cross cutting edge, the angle is naturally (almost) always more than 90°. This means that this cutting edge does not cut, but crushes and scrapes. The larger and longer this cross-cutting edge is, the more work is required to press the tool into the workpiece.
Cross cutting edge
However, because the drill bit needs a core, this cross-cutting edge is always there and annoyingly swallows up a lot of feed force, which is lost to the actual drilling process. As a remedy, you can almost completely grind away the cross-cutting edge with a tricky trick (still to come) or simply pre-drill before drilling a 20 mm hole with a thick drill bit. The cross-cutting edge then falls into the pre-drilled hole and no longer takes away any valuable power. All the feed force can flow directly into the main cutting edges.
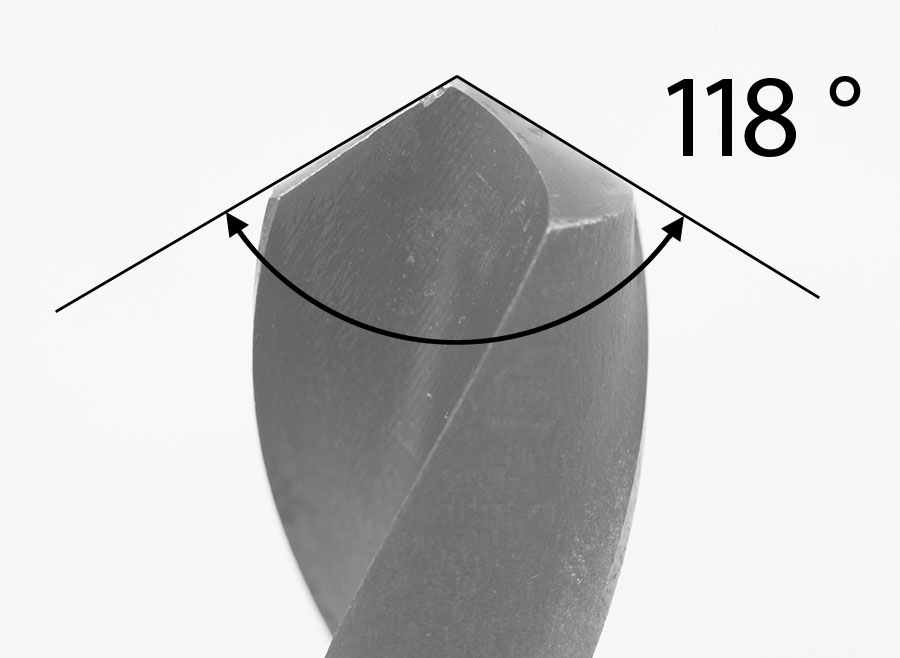
However, to ensure that the hole is round and, above all, dimensionally accurate, these cutting edges must always be ground symmetrically. There are two important angles on the main cutting edges. The first is the actual point angle that the drill has at the top.
This is usually between 118 and 120°. Drill bits of the “W” type for soft materials look slightly different and have a more pointed tip, while the angle of drill bits for hard materials is more obtuse. The point angle is not unimportant – the decisive factor is symmetry. Look at the drill bit from the side: Are the angles the same size? Great!
Free space behind the cutting edge
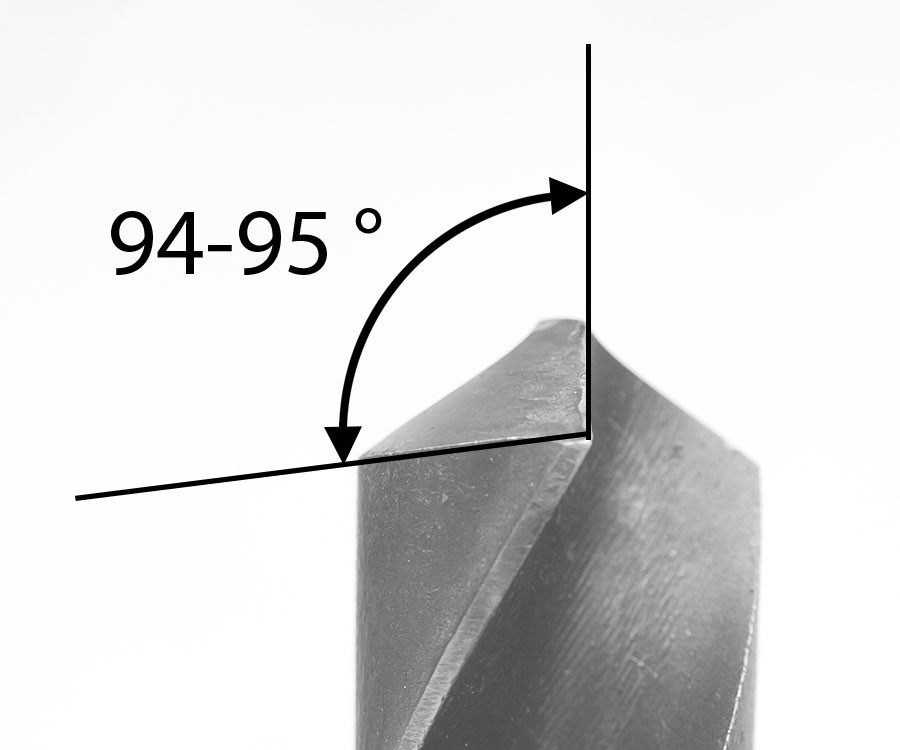
Much more important than an exact point angle, however, is the clearance surface behind the main cutting edge angle so that the main cutting edge also cuts and does not just scrape around on the workpiece and does not remove anything. Alternatively, this can also be referred to as a clearance angle – as can be seen in the picture.
If you look at a drill bit from the side, you can clearly see how the flank face slopes backwards, which is of vital importance: the cutting edge must be the highest point.
On the bench grinder
Grinding drills is not that difficult, but it also takes a long time to learn. In my father’s day, there was the honorable profession of tool grinder – these people were respected specialists who conjured up angles and free surfaces exactly where they belonged. And logically, such a profession cannot be learned in an afternoon.
So before you go to the bench grinder with an expensive twist drill (or other tool), you need to be clear about exactly what you are doing – otherwise the grinding will most likely go wrong. So if you want to grind twist drills, it’s best to practise with a piece that has been ground and is no longer important.
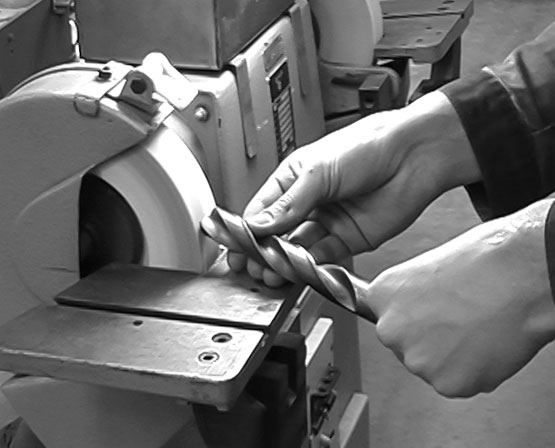
As already discussed, it depends on the nicely shiny and slightly sloping surface at the tip of the drill bit. It determines the length and symmetry of the main cutting edges as well as the rake angle. As you can see in our video created with guest star Klaus “Molotow” Kinski, the movement is not that difficult: Hold the main cutting edge of one side horizontally against the running disk with your right hand, while your left hand turns the drill shaft downwards / to the side. This action is difficult to explain: Watch the video and practise, practise, practise. In between, check whether
- the tip angle is correct,
- the tip is symmetrical,
- the open spaces behind the main cutting edges are really free.
If it looks reasonably good, this drill should also drill well – however, this can only be determined precisely by drilling a test hole.
Letzte Aktualisierung am 2024-04-05 / Affiliate Links / Bilder von der Amazon Product Advertising API
Pre-drilling
Because the cross-cutting edge is a nasty power-sucker when drilling, you can pre-drill. This is typically done with a drill bit that is perhaps 1/3 of the diameter of the drill bit. It is worth looking at the unpopular cross-cutting edge again here – it should disappear into the pre-drilled hole. If the pre-drilled hole is too large, the two main cutting edges will only cut partially: Here you have to reduce the cutting speed (to come), or rotational speed.
Sharpening the drill bit
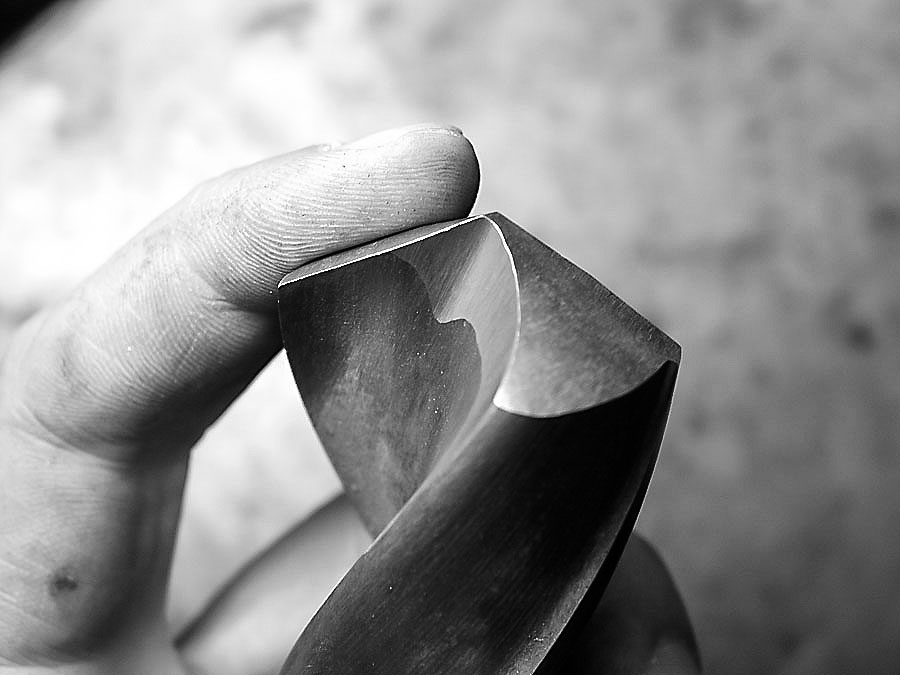
If pre-drilling is out of the question, you can also “point” your beloved drill bit. This is usually only done with specimens over 12 mm, simply because only here are the cross-cutting edges large enough to make sense.
A cleanly honed grinding wheel with a sharp corner is required for sharpening. Use this corner to grind away a little of the core of the drill bit and thus reduce the cross cutting edge. This results in a little more main cutting edge and considerably reduces the force required for the feed. If you try a drill bit before and after sharpening, the difference is clearly noticeable.
Grinding and cooling
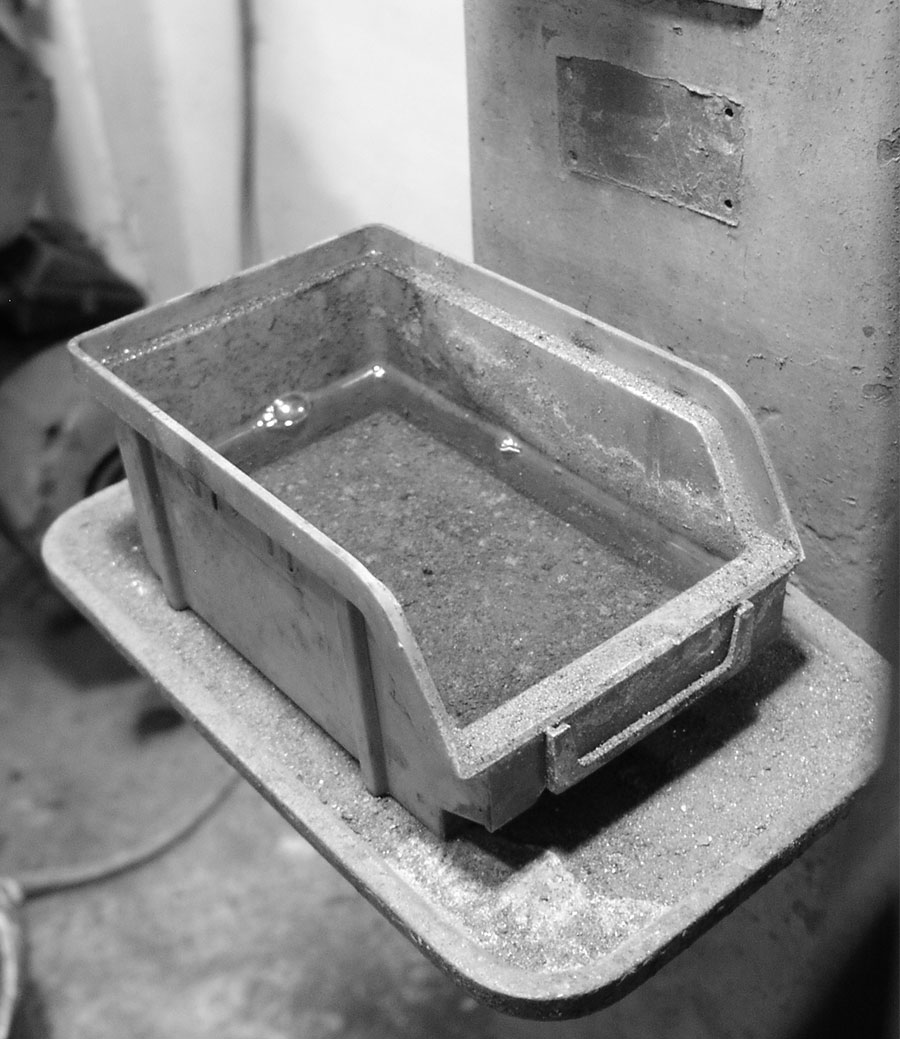
Where material sparks fly to the ground, it gets hot. And where steel gets hot, it changes its “structure” from a certain temperature. For this reason, your beloved drill bit must never, ever get too hot, otherwise the wonderful hardness of the material will vanish into thin air: the structure will then only have the hardness of Indian soft aluminum.
So if the tip has become wonderfully colored in the course of the grinding orgy, without it being one of the aforementioned miracle drills, you have messed up your work – within seconds and thanks to the effect of heat. These unintentionally heat-treated areas must be ground away carefully and with plenty of cooling before a new geometry is built up again and fresh, sharp material is placed on the cutting edge.
Large and, above all, not yet sanded specimens are ideal as a model: you can always use a sample like this to check how the things should actually look.
The next installment of our never-ending series of articles shows how to make the freshly purchased Russian-style surface-to-air missile battery with large holes so light that it can be moved by a Mondeo station wagon on dirt roads in the Sauerland. Komsomol members, please stay tuned!
