Update 2022
Who would have thought that the second-best gearhed site in the universe would see the year 2023? At least not us.
This article here belongs to the very first autoschrauber.de inventory and dates back to the time when it was possible to throw an alternator from the North or South Tower of the World Trade Center in New York. It’s just a shame that the original images didn’t survive the migration from Windows 98 to Win11 – so here are the thumbs with the historical watermark.
Technically, nothing has changed with regard to the old generators shown, but the price has: the spare parts have become more expensive, the Chinese replacement alternators cheaper. For cost reasons, a repair is therefore hardly worthwhile.
However, anyone who repairs an alternator today, i.e. in 2022, can look forward to at least 150,000 kilometers with this power source and go on a trip around the world without a care in the world. Whether a Chinese alternator can do this is questionable.
When the charge control flickers twice
Most of the time, the generator does its job inconspicuously and without complaint, supplying the on-board TV, bottle warmer and lighting system with electricity. While our fathers were still struggling with 6-volt DC alternators, claw pole generators represent the penultimate generation of dynamos.
Compact generators with an internal fan or water-cooled models with extra high output (for the cooling tap system in the trunk of the S-Class) are repaired in another way.
Apart from the two deep-groove ball bearings and the carbon brushes together with the controller, there is not much that can break on a simple Bosch claw pole generator shown here as an example. So if the part rattles or no longer delivers any power, you can think about an overhaul.
The alternative is an alternator of unknown condition from scrap metal, usually priced at around 100 Euros. If you want to do it yourself, you need 60-80 Euros for the parts and above all the Bosch or
The manufacturer’s number is printed on a sticker on the housing. This means that the Bosch uncle or
Parts seller to find the right bearings and carbon brushes. For the overhaul, you should have a little experience and a puller. If you want to do the job 100%, you drag the rotor to a turning shop and have the collector turned over.
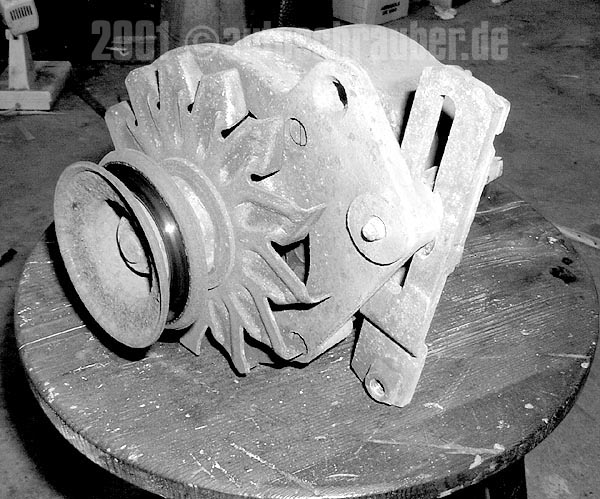
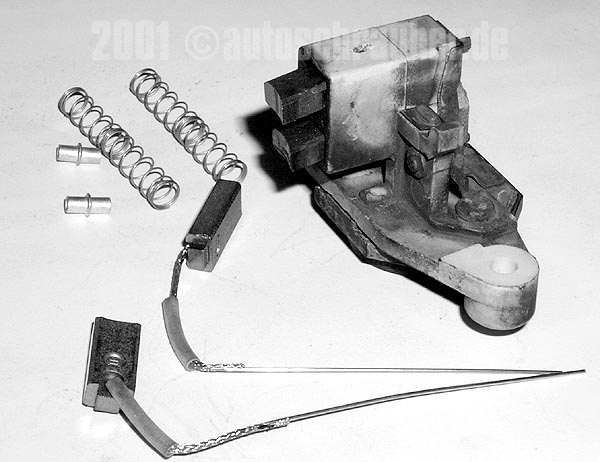
Remove fan wheel
Remove the alternator. Always disconnect the battery beforehand, as the D+ has a continuous positive connection – even a 13 mm wrench will burn up in an arc if there is an earth contact.
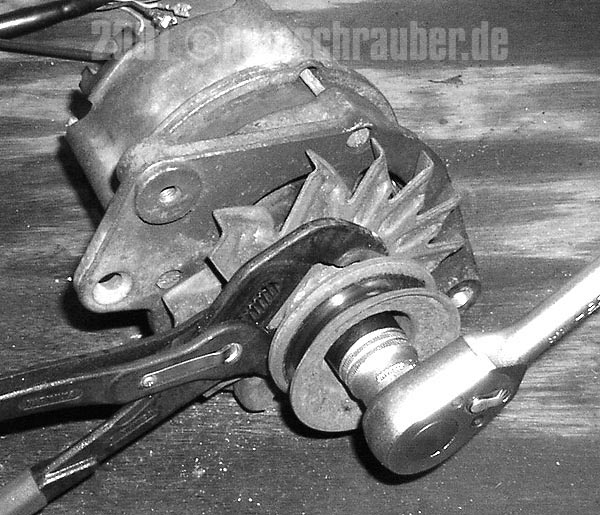
Dismantle the belt pulley. To do this, loosen the central screw with a socket SW 22. Use a wrench or a large pair of water pump pliers to hold it in place.
Remove the pulley under the belt pulley, remove the fan wheel. Carefully pry the Woodruff key (the small metal wedge) out of its groove with a screwdriver and store it safely.
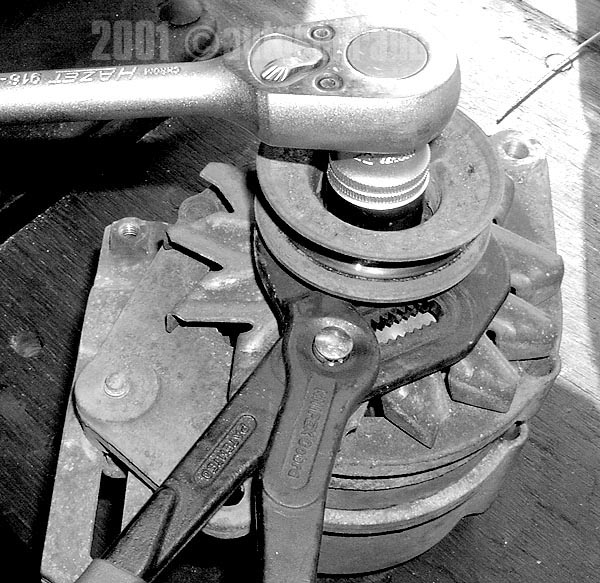
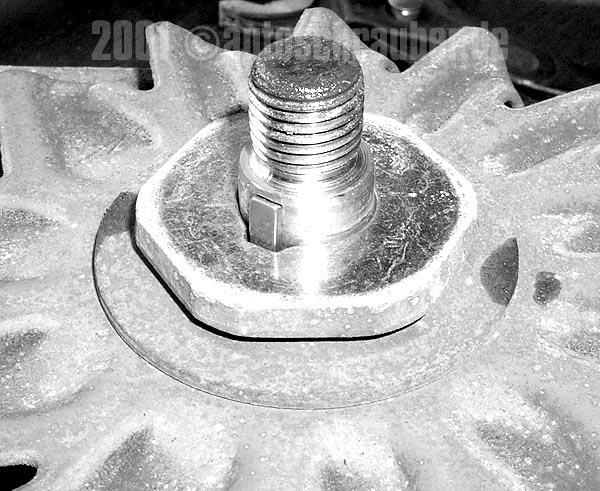
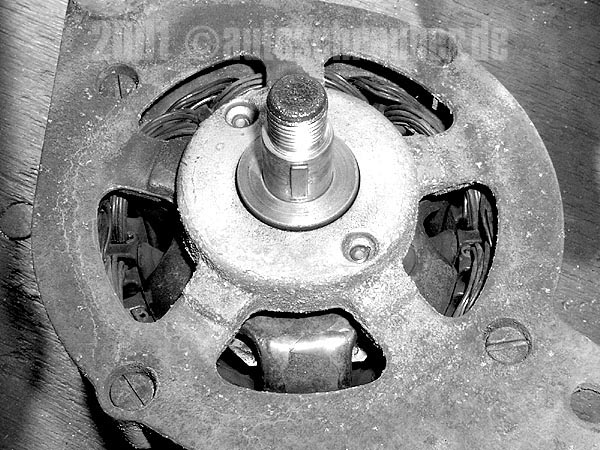
Loosen tie rod bolts
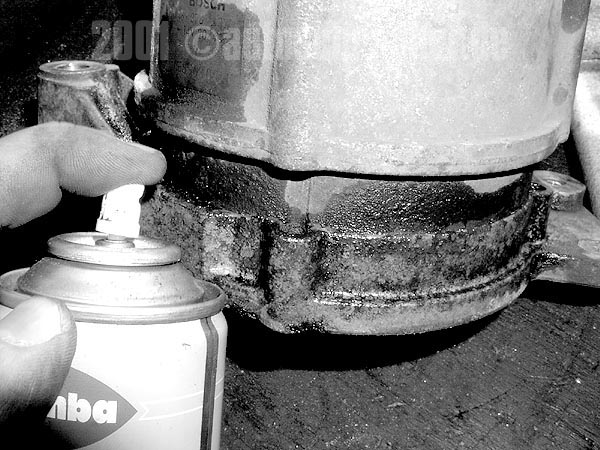
The alternator housing consists of two parts. The actual housing and the end shield in which the front bearing is located. Both are held together by four tie rod screws. Treat the threads of the four screws on the back of the generator with WD40.
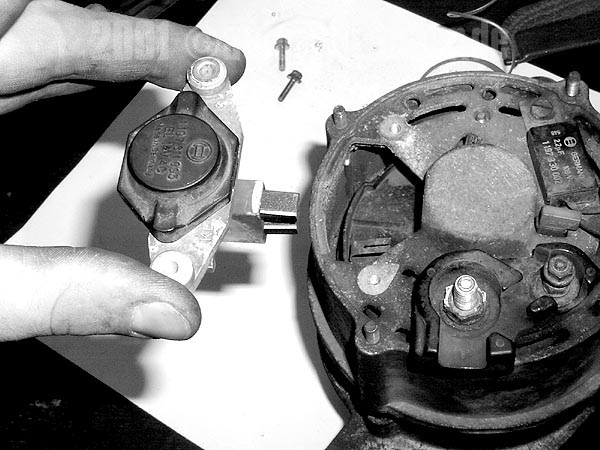
Then remove the brush holder. To do this, loosen the two slotted screws and carefully remove the plastic part from the rear housing section.
Now loosen the tie rod bolts. To do this, use a really one hundred percent sharp screwdriver with a blade that just fits into the slot. If you brick up or tear off a screw like this (-Caramba!), you’re really up a creek.
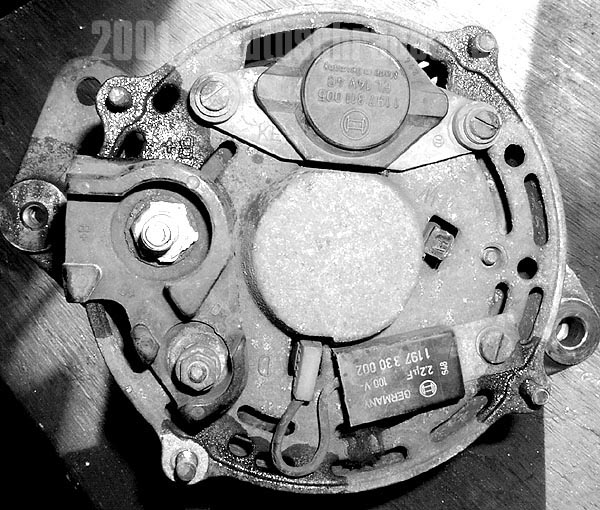
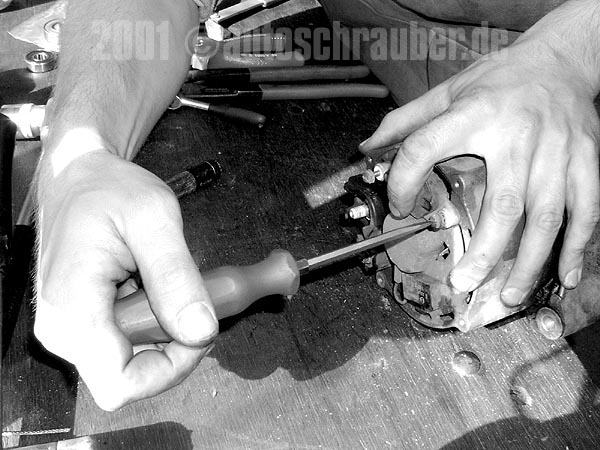
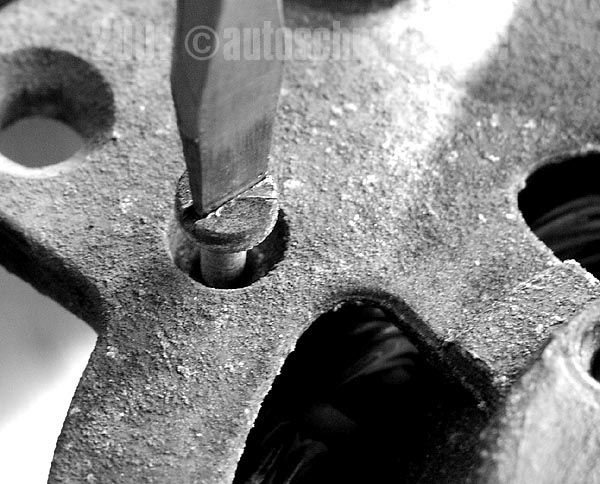
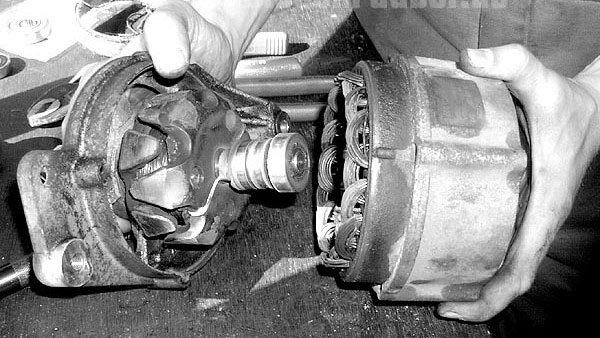
Separate housing
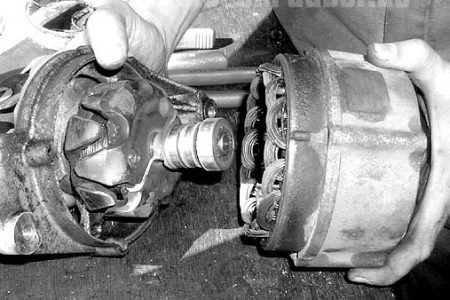
Now hit the shaft with a soft-face hammer and place the end shield somewhere. Treat the parting line with Caramba beforehand.
The rear bearing sits in a plastic cap, which sometimes gets a little stuck. If the end shield has separated from the housing, carefully pull the slider out of the rear bearing seat.
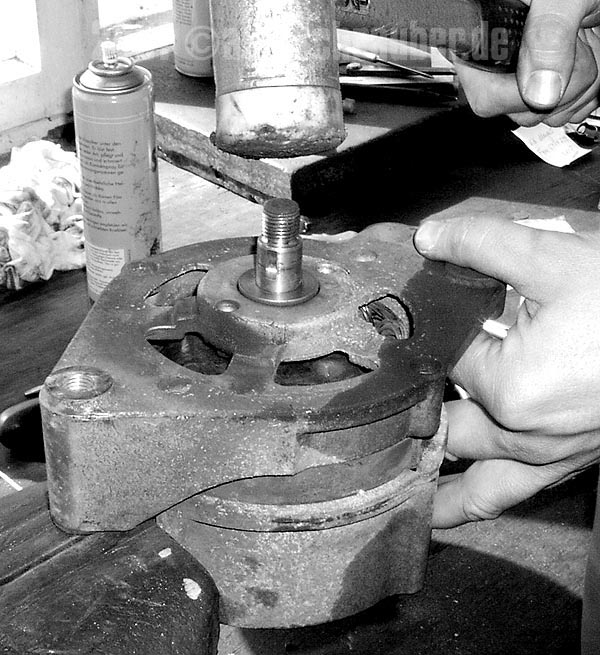
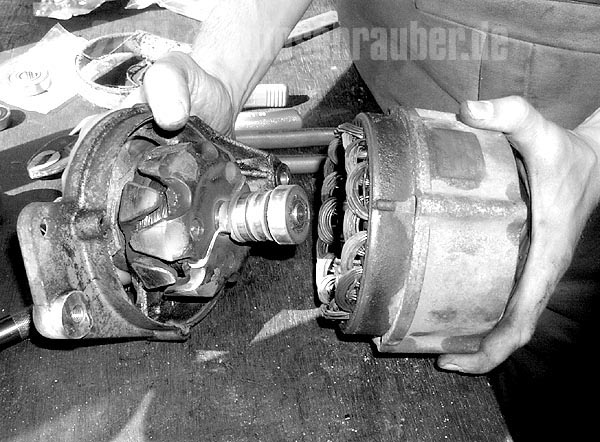
Dismantling the end shield
The Bosch engineers have put a few obstacles in the way of the do-it-yourselfer during the overhaul.
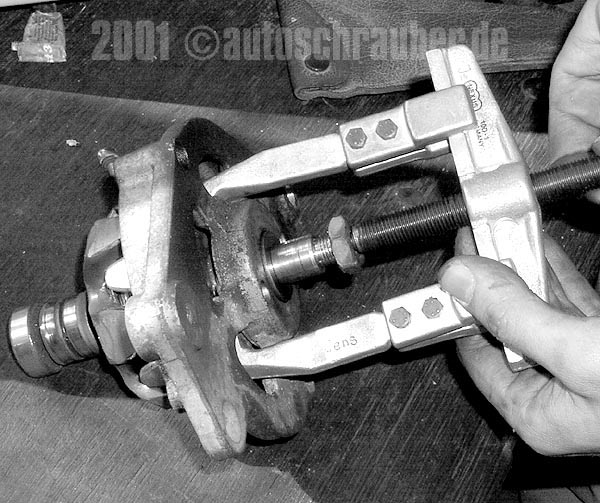
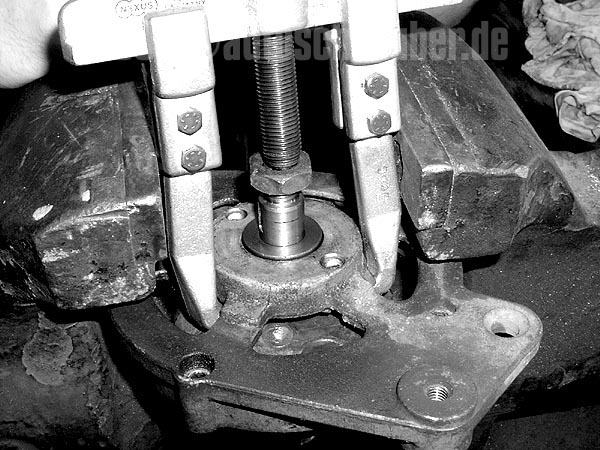
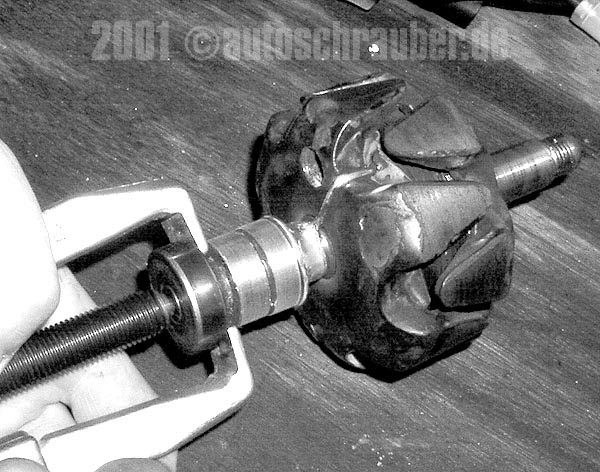
The end shield is split unevenly so that you need a three- or five-arm puller to remove the end shield from the rotor. The work is often made more difficult by a very tightly fitting sealing and spacer washer between the fan wheel and the outer bearing. Caramba helps.
As a twist, the centering bore in the shaft has been turned off – in order to fit the spindle of the puller
to be able to attach it, turn the nut three-quarters onto the shaft.
If you only have a two-arm puller, use it and fix it in a vice. Now should
the end shield can be removed.
Replace bearing / overtighten collector
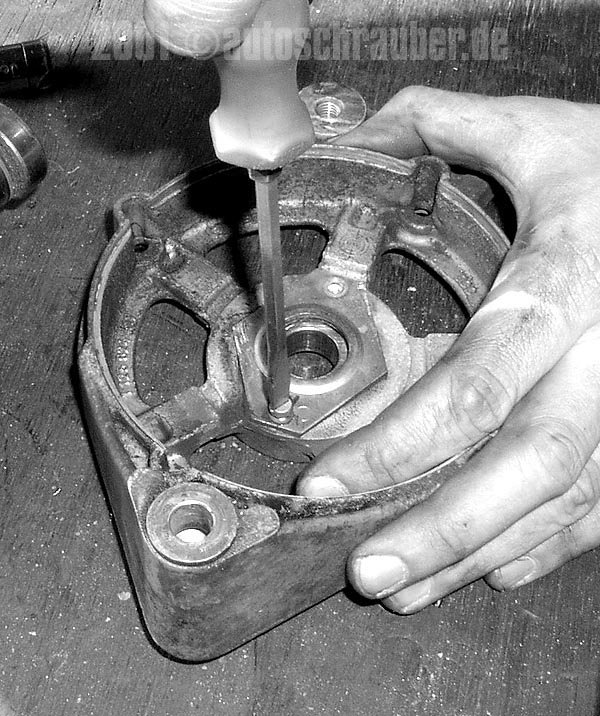
Unscrew the cover of the outer bearing and remove the bearing. Insert new bearing.
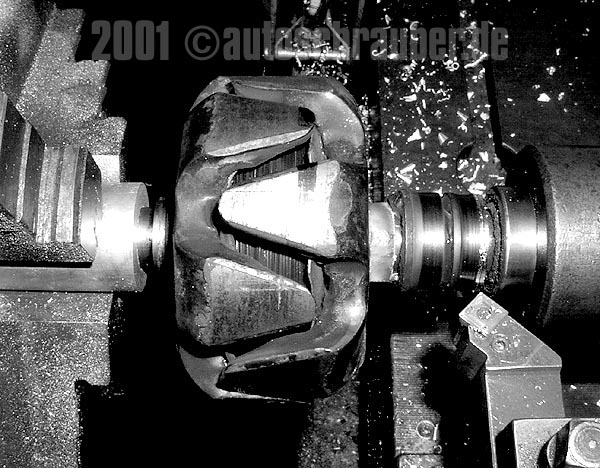
If the rotor’s collector is very grooved and run-in (high mileage, always use the cooling tapping system
If you have worn it), you should have it removed on a lathe.
The concentricity should be less than two hundredths afterwards – treatment with a file is therefore strongly discouraged. Black spots can be sanded off by hand using abrasive cloth.
Always sand the entire circumference and polish the surface only. Not more!
Replace rear bearing / press together end shield
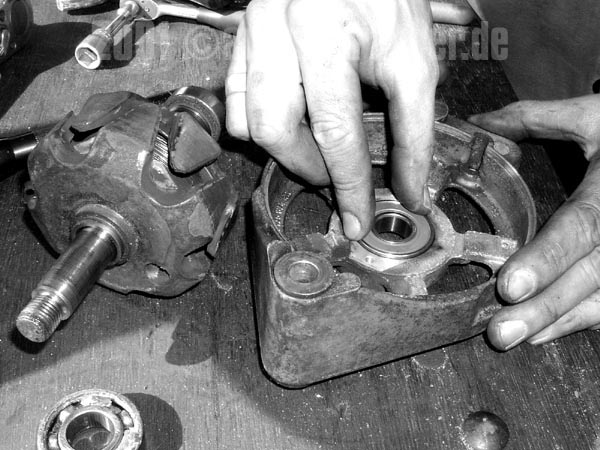
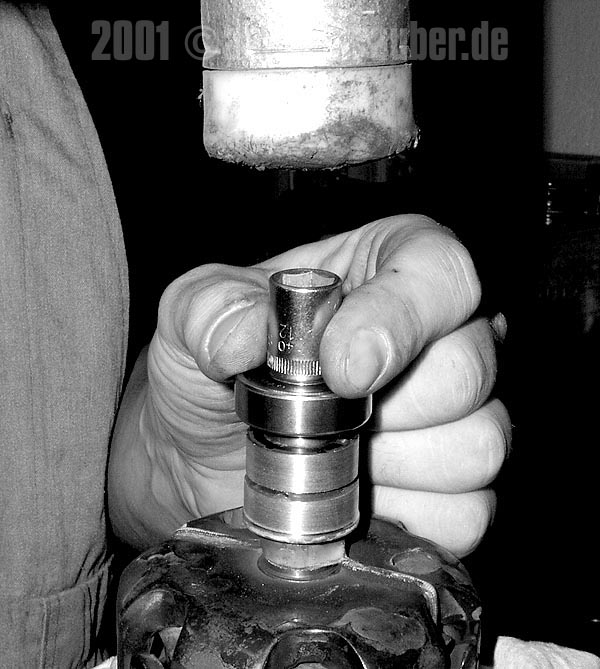
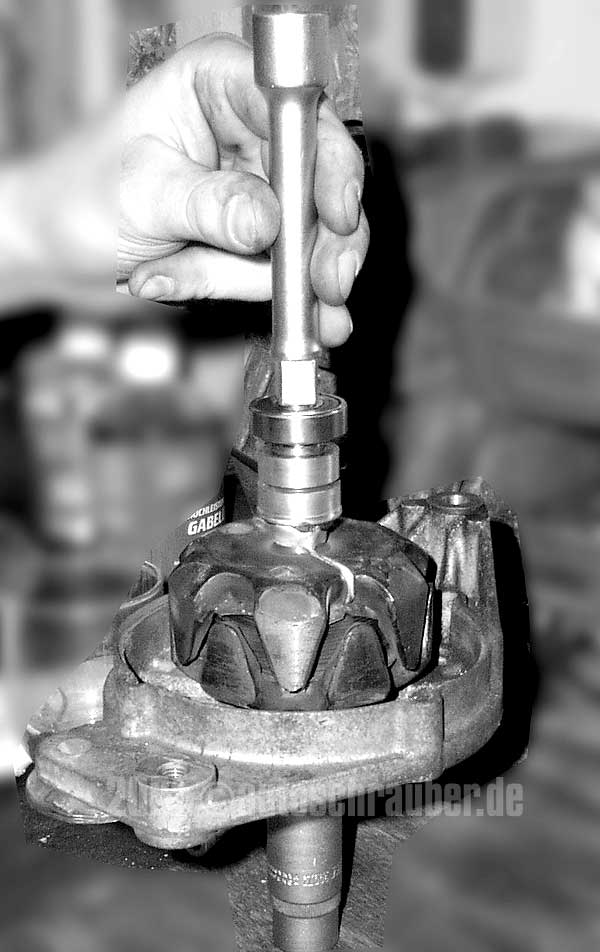
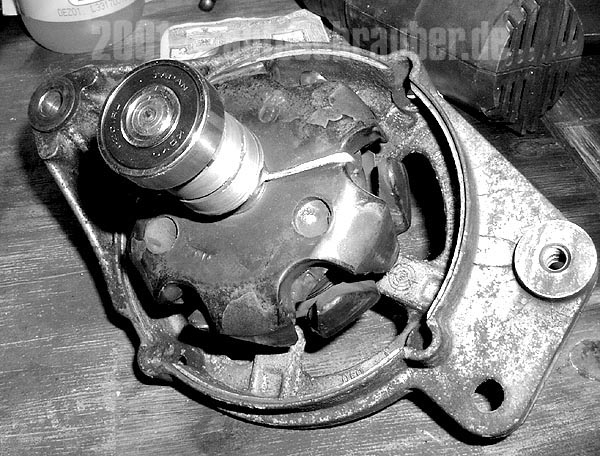
Remove the rear bearing and replace it with a new one. Load the bearing only on the inner ring. A socket is ideal for driving the bearing onto the shaft. Now reinstall the completed slider in the end shield.
A spark plug socket, on which the spacer washer is placed, is well suited as a base to support the shaft.
through the camp. There is another way. If you have one, use a press. Reassemble the housing halves correctly and tighten the tie rod bolts.
Replace carbons
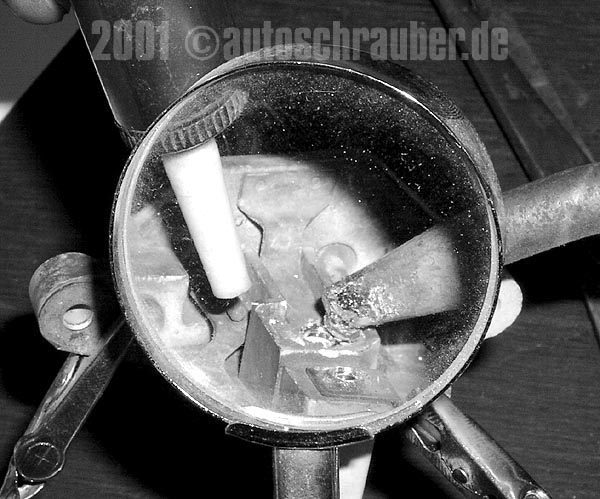
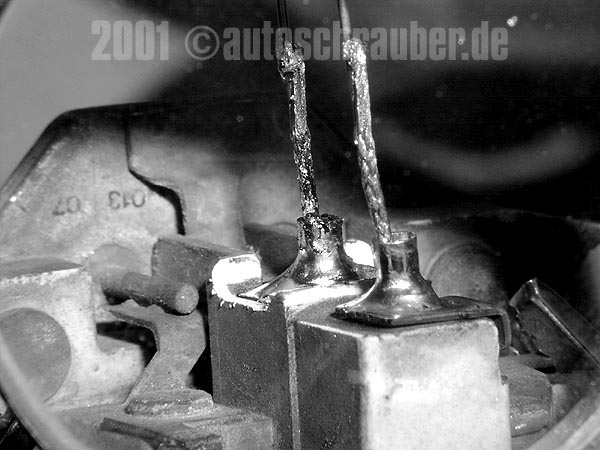
The carbon brushes are soldered into the holder. In order not to heat the transistor, which is connected to the brush holder by sheet metal tabs, unnecessarily, the soldering iron should have a power of at least 50 watts.
100 watts is better. Carefully clamp the brush holder in the vice or the Super-Duper soldering holder with integrated magnifying glass.
Unsolder the old carbons. If you heat the sheet metal flag sufficiently, they simply pop out downwards. Use a file to make the solder joints absolutely clean.
Insert the new carbon brush with spring into the holder from below. Push the aluminum sleeve over the connecting wire. Three quarters of the coal should protrude from the holder. Press the aluminum sleeve together in this position to fix the carbon. Now solder the whole thing tightly and cut off the protruding stranded wire. Done.

Letzte Aktualisierung am 2024-04-03 / Affiliate Links / Bilder von der Amazon Product Advertising API
Insert brush holder
Replace the brush holder in the alternator and tighten the screws. Fit the V-belt pulley.
The rotor should turn silky smooth and without rattling, the carbons should only grind very quietly. The
Install and connect the alternator. Start the engine. The charge control should go out immediately after starting.
