Battery flat? Leakage current?
If the battery is notoriously weak and is empty again after a few days in the garage, there is a nasty suspicion: leakage current! The fine man now measures the current flow when the ignition is off and the bus is at rest – too high. Maybe 120 mA. Who is to blame? Is it the make-up mirror? The neck heater? The fuel filler cap light? Or one of the 482 USB sockets?
The search for the culprit now usually goes into detail. And to get a feel for individual circuits, you can pull fuses one by one. Until the total power consumption goes down.
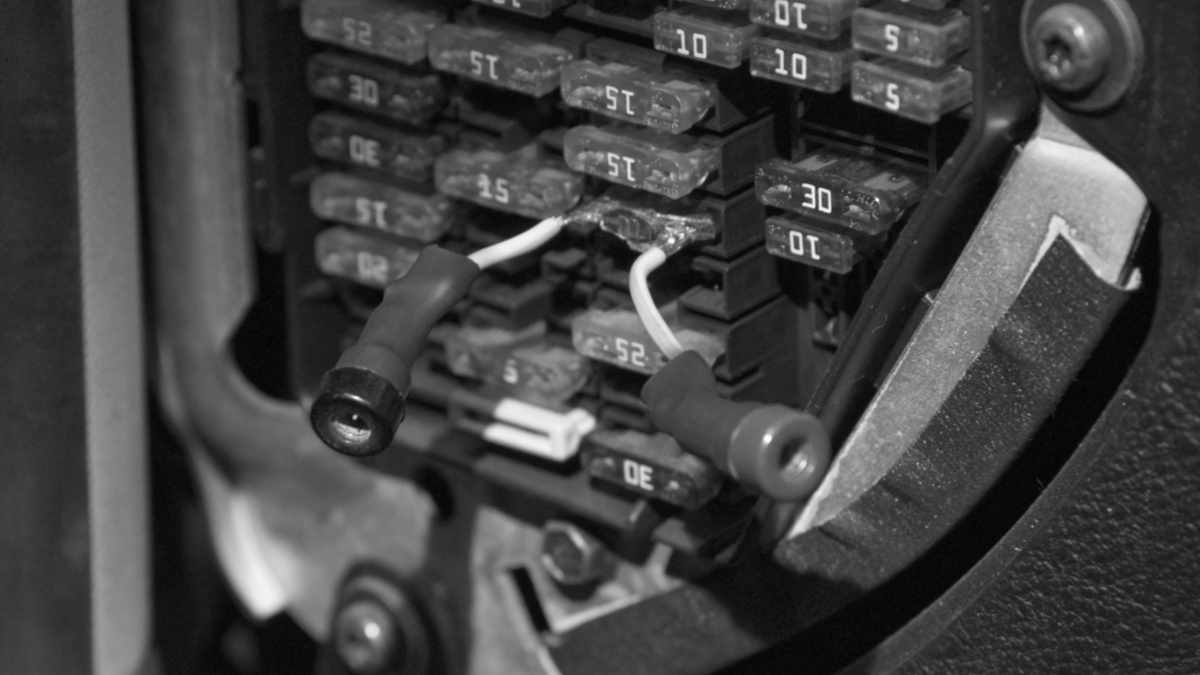
An alternative to this is measurement in the individual circuits. Such a diagnosis is more precise – after all, the currents in the circuits connected in parallel add up to give the total current. If you have removed the fuse from its holder, you can use a fine measuring tip to pin out the contact sockets and then measure the current consumption. This works well, but is a little wobbly and imprecise because the current flows over the very small contact surface of the measuring tips.
Build measuring adapter
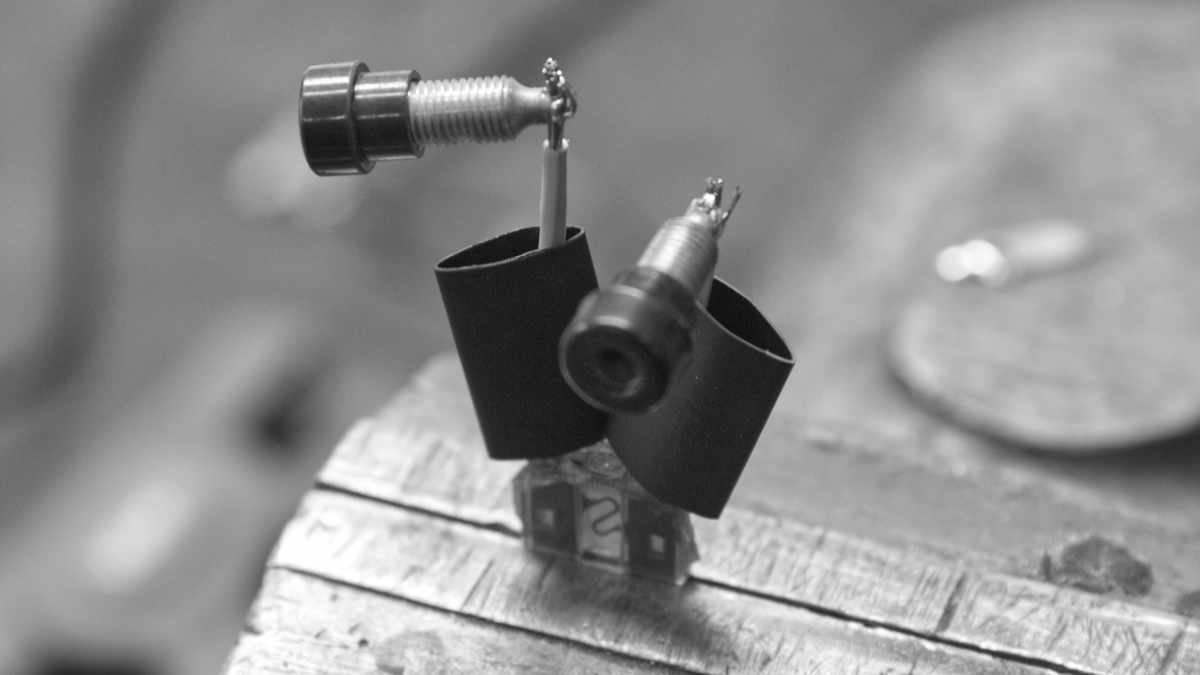
This is where the measuring adapter comes into play: The thing conducts the current like an ATO fuse in a few banana sockets; above all, it can be plugged in and out at lightning speed. Such adapters offer the flambéed bananas for sale on the Internet for little money – it’s just annoying when the Internet is closed again on Saturday and the fault has to be found on Monday.
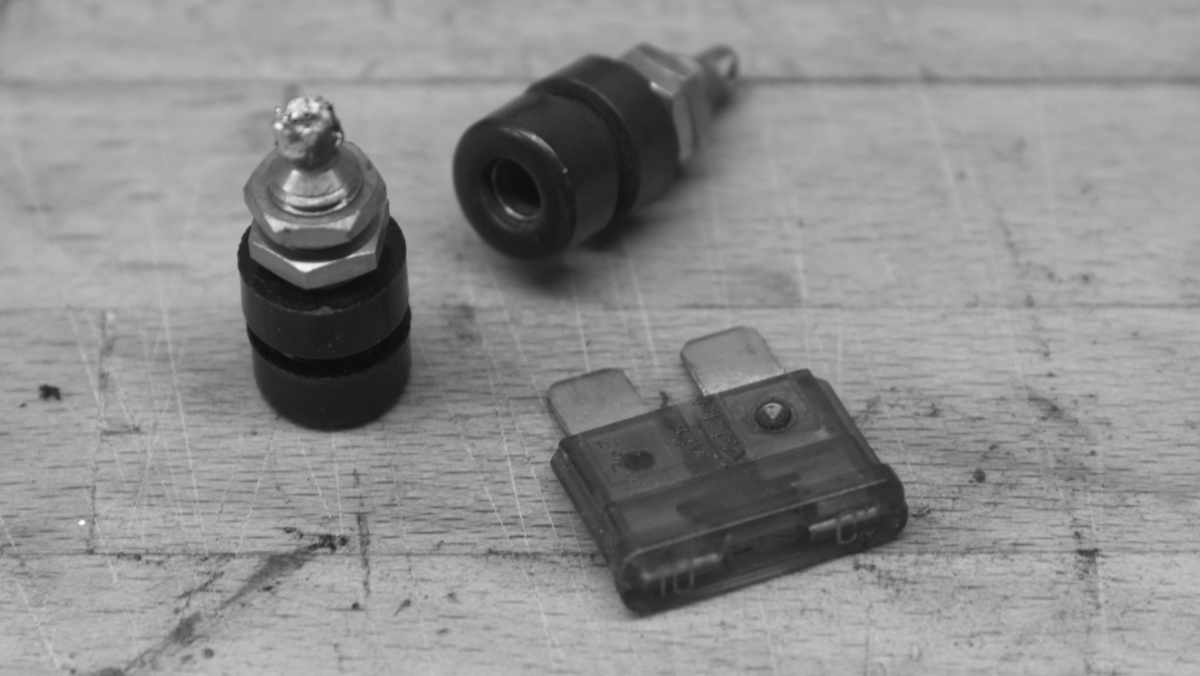
In principle, all you need to assemble a device like this on a Saturday is a flat plug fuse, a few banana sockets, some stranded copper wire and a soldering iron.
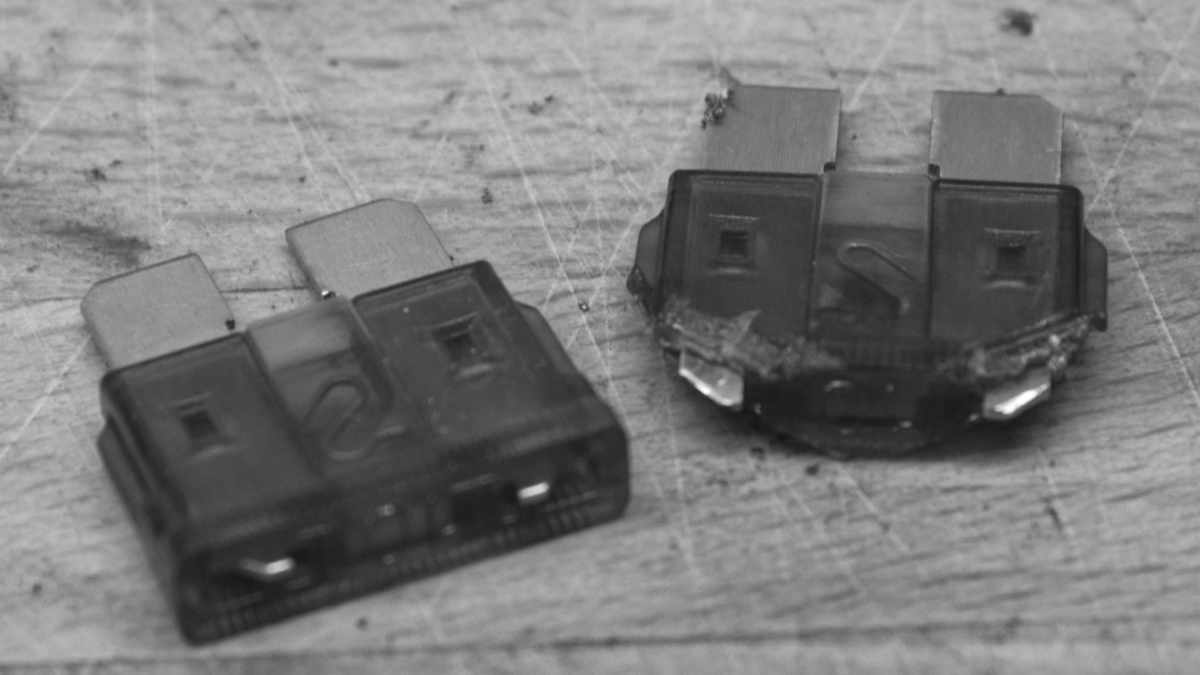
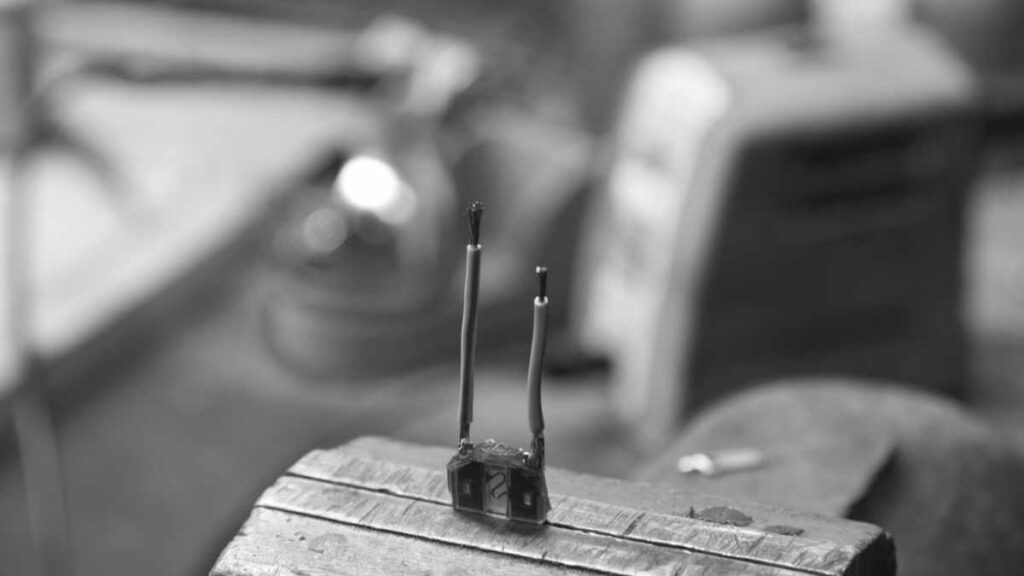
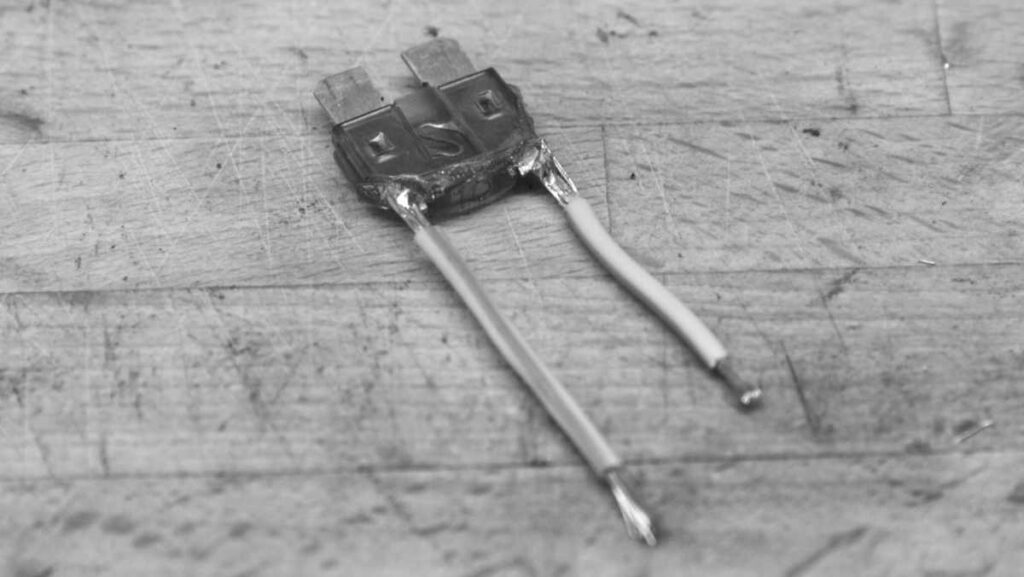
It doesn’t matter whether the fuse is rated for 1, 5 or 25 amps; we used a couple of 10-amp ones for our adapter. This amperage occurs frequently and can be shot without much sizzle. Because the housings of flat plug fuses are sometimes molded in one piece and sometimes just glued together, depending on the manufacturer (and price), it actually takes several attempts to expose the contacts on the top.
This can be done quite well with a simple side cutter; for real precision work you would probably use a dentist’s cutter. Did the housing break when you snapped it off? Get rid of it right away, take the next one.
Soldering contacts
A few built-in banana jacks were still flying around in the drawer as contacts. Of course, bare strands work just as well or simple crimp eyelets that can be tapped with measuring hooks. In any case, the two metal tabs of the fuse can be soldered surprisingly well – and connected to the sockets. With a bit of shrink tubing, the measuring adapter is ready and waiting to be used.
Ah, I forgot: Of course, you also have to grill the fuse. The wood chopper does this directly on the starter battery with a screwdriver (traces of smoke in picture 1 of the previous chapter), the fine man uses the banana socket and lab cables.
The next article will show you how to detect leakage currents in principle and in other ways.
